Illustratorのメッシュツールを使って複雑なグラデーションを表現する
Illustratorメッシュツールを試してみました。
まずは画面上に四角形を配置します。

次に、ツールボックスのメッシュツールを選びます。

その状態でオブジェクトをクリックするとメッシュラインが作成されます。
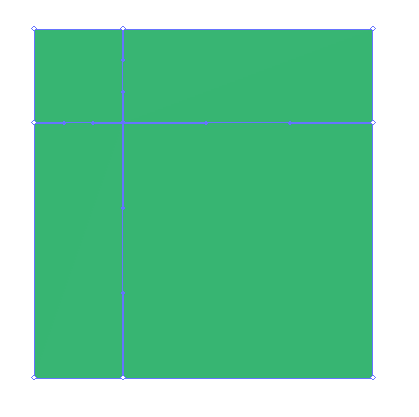
メッシュラインを選んだ状態で、カラーを変更するとオブジェクトにグラデーションが設定されます。
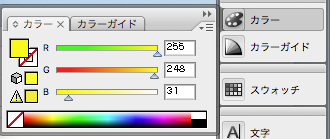
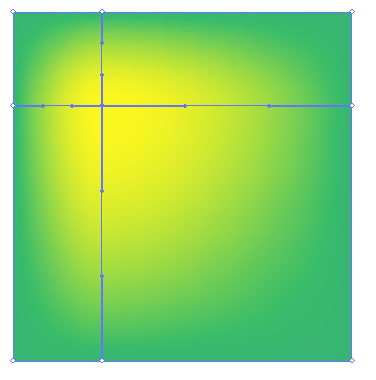
メッシュラインは複数配置する事もできます。
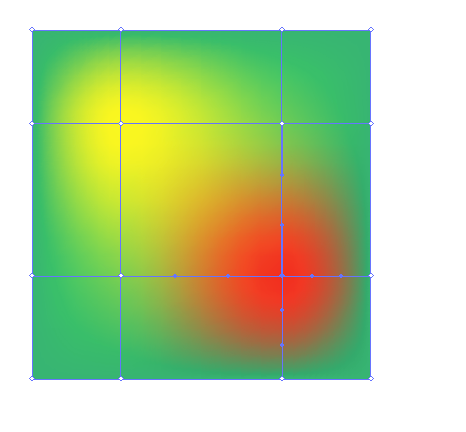
ラインを曲げると、それに合わせてグラデーションも変化します。

MYBlurIntroductionViewを使ったチュートリアル作成
MYBlurIntroductionViewというウォークスルーを作るライブラリを試してみました。

インストールはCocoaPodsで行います。
target 'MyApp' do
  use_frameworks!

  pod 'MYBlurIntroductionView'
end
実際に使うにあたって、まずは適当なアイコンをプロジェクトに追加します。

アイコンは下サイトのものを利用しました。
アイコンを追加したら実際に実装していきます。
おおまかな流れとしては「MYIntroductionPanel(ウォークスルーの各ページに相当)を複数個作成、それを元にMYBlurIntroductionViewを作って画面にセットする」という流れです。
import UIKit
import MYBlurIntroductionView

class ViewController: UIViewController {
    override func viewDidLoad() {
        super.viewDidLoad()

        let headerView = UIView(frame: CGRect(x: 0, y: 0, width: view.frame.size.width, height: 100))
        headerView.backgroundColor = UIColor.blue

        let panel1 = MYIntroductionPanel(frame: view.bounds, title: "Welcome to MYBlurIntroductionView", description: "MYBlurIntroductionView is a powerful platform for building app introductions and tutorials. Built on the MYIntroductionView core, this revamped version has been reengineered for beauty and greater developer control.", image: #imageLiteral(resourceName: "book"), header: headerView)
        panel1?.backgroundColor = UIColor.darkGray

        let panel2 = MYIntroductionPanel(frame: view.bounds, title: "Automated Stock Panels", description: "Need a quick-and-dirty solution for your app introduction? MYBlurIntroductionView comes with customizable stock panels that make writing an introduction a walk in the park. Stock panels come with optional overlay on background images. A full panel is just one method away!", image: #imageLiteral(resourceName: "pen"))
        panel2?.backgroundColor = UIColor.lightGray

        let introductionView = MYBlurIntroductionView(frame: view.bounds)
        introductionView.buildIntroduction(withPanels: [panel1, panel2])
        view.addSubview(introductionView)
        introductionView.backgroundImageView.image = #imageLiteral(resourceName: "pen")
    }
}
アプリを起動すると、下のように2ページだけのウォークスルーを作成できました。
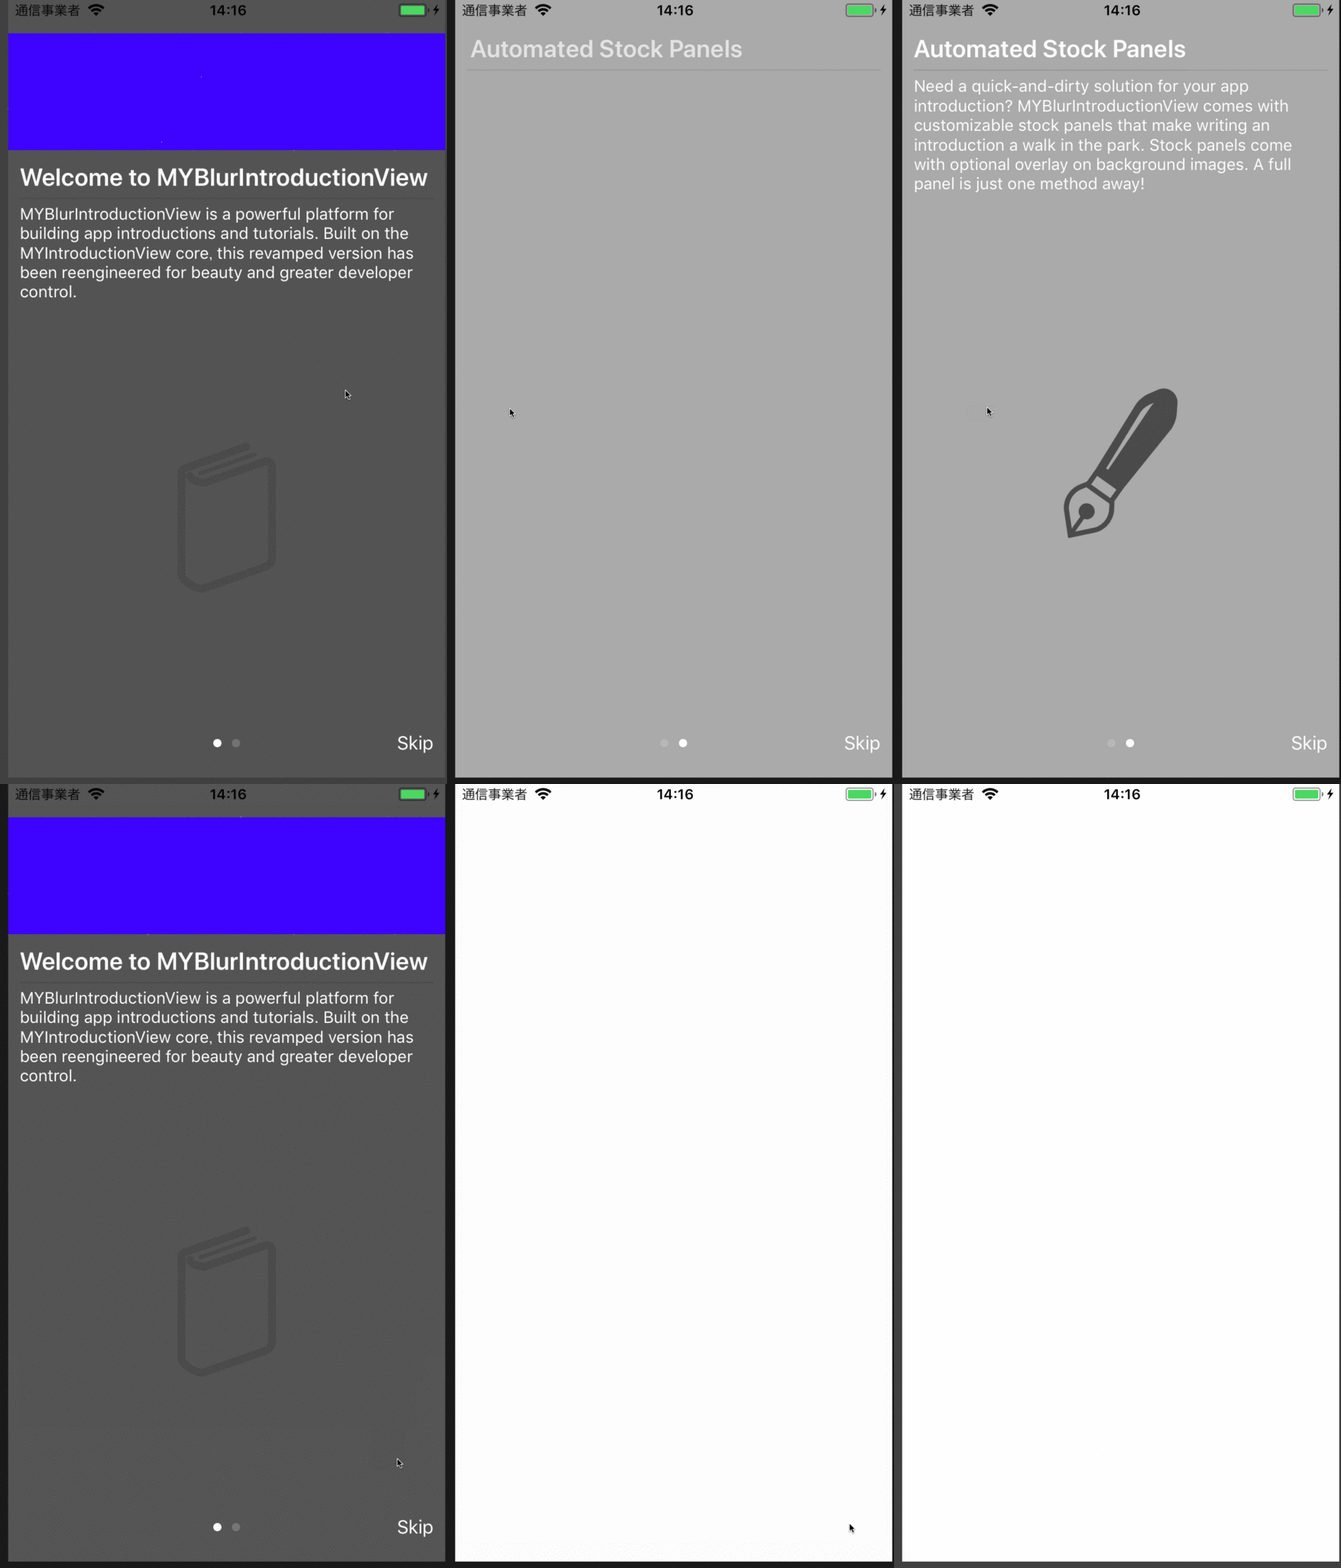
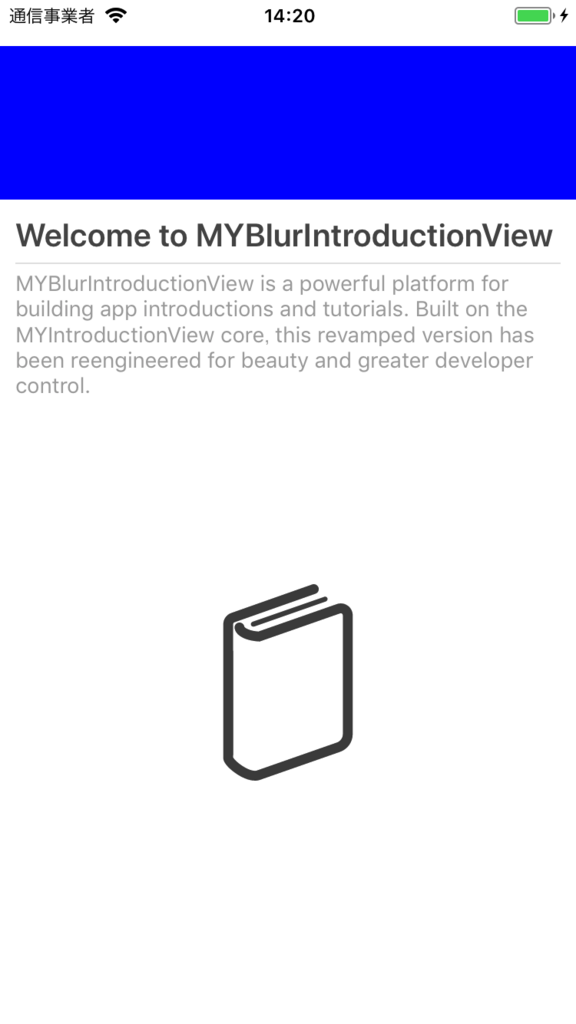
各ラベルへのアクセスできるので、フォントや文字色も簡単に変更できます。
let panel1 = MYIntroductionPanel(frame: view.bounds, title: "Welcome to MYBlurIntroductionView", description: "MYBlurIntroductionView is a powerful platform for building app introductions and tutorials. Built on the MYIntroductionView core, this revamped version has been reengineered for beauty and greater developer control.", image: #imageLiteral(resourceName: "book"), header: headerView)
panel1?.panelTitleLabel.textColor = UIColor.darkGray
panel1?.panelDescriptionLabel.textColor = UIColor.lightGray
delegateで、下のイベントを取ることが可能です。
extension ViewController: MYIntroductionDelegate {
    func introduction(_ introductionView: MYBlurIntroductionView!, didFinishWith finishType: MYFinishType) {
    }

    func introduction(_ introductionView: MYBlurIntroductionView!, didChangeTo panel: MYIntroductionPanel!, with panelIndex: Int) {
    }
}
【読書メモ】Hooked ハマるしかけ
こちらの本を読んでみました。
Hookedというモデルを通して、インスタグラムなどの有名アプリのヒットの仕組みについて書かれています。
![Hooked ハマるしかけ 使われつづけるサービスを生み出す[心理学]×[デザイン]の新ルール Hooked ハマるしかけ 使われつづけるサービスを生み出す[心理学]×[デザイン]の新ルール](https://images-fe.ssl-images-amazon.com/images/I/51M%2B6Lv6dCL._SL160_.jpg)
Hooked ハマるしかけ 使われつづけるサービスを生み出す[心理学]×[デザイン]の新ルール
- 作者: Nir Eyal,Ryan Hoover
- 出版社/メーカー: 翔泳社
- 発売日: 2014/05/27
- メディア: Kindle版
- この商品を含むブログ (1件) を見る
メモ
- フックモデルは人間を習慣づけさせる為のフレームワークで、4ステップで構成されている
- ステップは「トリガー」「アクション」「リワード」「インベストメント」の4つ
- トリガーはアクションを起こすためのきっかけ、外的トリガーと内的トリガーの2種類がある
- 外的トリガーはアプリインストールの為の広告や口コミなど
- 内的トリガーは良い景色を見た時に投稿したくなるなど
- 内的トリガーを増やすためには、ユーザーのニーズを把握する事が重要
- アクションはトリガーの次のステップで、実際に行動する部分
- 行動するために必要なのは「モチベーション」「行動するための能力」「トリガー」の3つが必要
- 行動するための能力はできるだけ低くする方が良い(プロダクトを簡単に使えるようにする)
- 希少効果でモチベーションを高めることができる(例: Amazonの「残り○点」という表示で購買意欲を高める)
- エンダウド・プログレス効果という、「ゴールに近い状態だとモチベーションが上がりやすい」という法則がある
- エンダウド・プログレス効果を使った例として、WEBサービスのプロフィール完成度の表示などがある
- リワードは予測不能な事が重要、予想可能だと喜びが減る
- 報酬は「トライブ」「ハント」「セルフ」の3つがある
- 「トライブ」は周囲に認められることで、Facebookのいいねなどがある
- 「ハント」は何かを探し求めること、スロットマシンで当たりを出したりTwitterで良い情報を見つけることなどがある
- 「セルフ」は何かの達成するなどの報酬、ゲームでのレベルアップ時の満足感などがある
- 人は自主性を損なうと抵抗を感じる
- 「インベストメント」はユーザーに求める行動
- 人は行動すればするほど価値を感じる(例: 長い時間を使ったゲームに価値を感じる)
Embedded Frameworkを作ってみる
iOS8から導入されたEmbedded Frameworkを試してみました。
Embedded Frameworkは動的なライブラリで、プロジェクト分割によってコンパイル速度が早くなる・Extensionとの共通処理を書きやすいと言った利点があるようです。
まずは新規プロジェクトの作成をします。
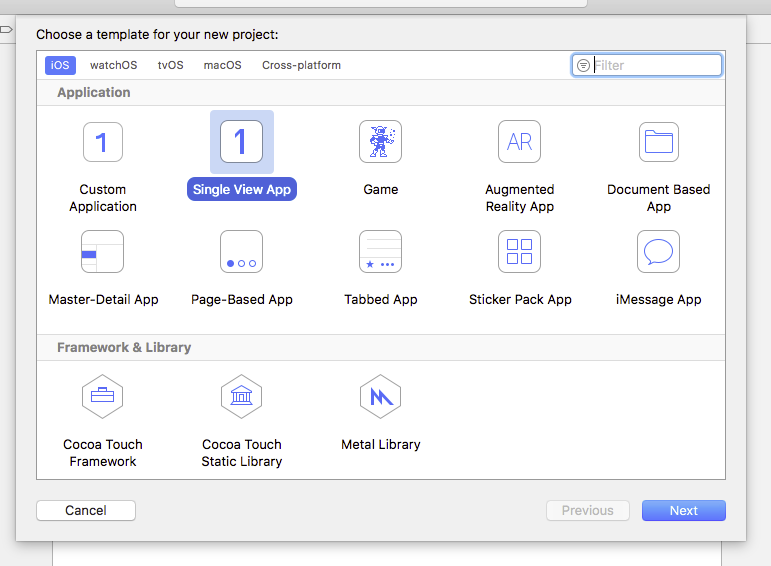
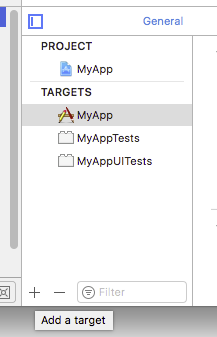
次に、Targetの追加を押します。
下の方にあるCocoa Touch Frameworkを選びます。

これでEmbedded Frameworkを作る事ができました。
作ると下のようにターゲットが追加されます。

同時に、下のようにフォルダが作られます。
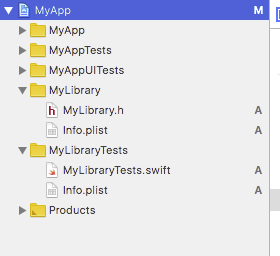
続けてEmbedded Frameworkのコードを読み取ってみようと思います。
Embedded Frameworkにファイルを追加します。
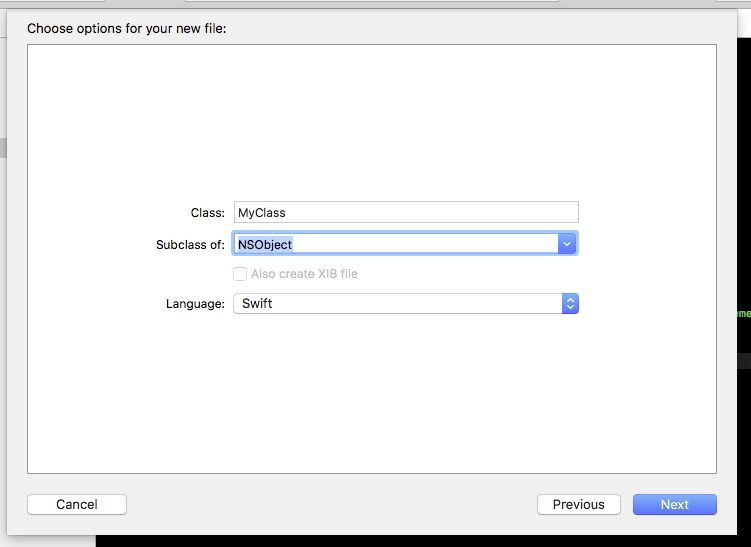
外部からクラスを参照する場合はpublicを付ける必要があります。
import UIKit

public class MyClass: NSObject {
}
作ったクラスをプロジェクトから呼び出すには、下のようにimportします。
import UIKit
import MyLibrary

class ViewController: UIViewController {
    override func viewDidLoad() {
        super.viewDidLoad()

        _ = MyClass()
    }
}
PalauでUserDefaultsの管理を簡単に
Palauというライブラリを試してみました。
インストールはcocoapodsで行いました。
target 'MyApp' do
  use_frameworks!

  pod 'Palau'
end
使い方は下の通りです。
下のようにまずは変数を定義します。
import UIKit
import Palau

extension PalauDefaults {
    static var name: PalauDefaultsEntry<String> {
        get { return value("myName") }
        set { }
    }
}
定義した変数は下のように使えます。
print(PalauDefaults.name.value) // → nil
PalauDefaults.name.value = "MyString"
print(PalauDefaults.name.value) // → MyString
String以外にも対応しています。
extension PalauDefaults {
    static var count: PalauDefaultsEntry<Int> {
        get { return value("myCount") }
        set { }
    }
}
デフォルト値は下のようにwhenNilで定義します。
extension PalauDefaults {
    static var name: PalauDefaultsEntry<String> {
        get { return value("myName").whenNil(use: "myDefaultString") }
        set { }
    }
}
didSetを使ってセット時のイベントを取る事ができます。
ブロックの第一引数が新しい値、第二引数が古い値です。
extension PalauDefaults {
    static var name: PalauDefaultsEntry<String> {
        get { return value("myName").didSet { print($0, $1) } }
        set { }
    }
}
下のように条件付き値を扱う事もできます。
ここでは10以下場合は10がセットされるようにしています。
extension PalauDefaults {
    static var count: PalauDefaultsEntry<Int> {
        get { return value("myCount").ensure(when: { ($0 ?? 0) < 10 }, use: 10) }
        set { }
    }
}

PalauDefaults.count.value = 5
print(PalauDefaults.count.value) // → 10
PalauDefaults.count.value = 11
print(PalauDefaults.count.value) // → 11
【iOS】Interpolateでオシャレウォークスルー
Interpolateというライブラリを試してみました。

まずはCocoaPodsでインストールします。
target 'MyApp' do
  use_frameworks!

  pod 'Interpolate'
end
次に実際に実装してみます。
今回は画面をスワイプすると色が黒から白に変わるというものを作ってみようと思います。
まずは下のようにInterpolateをwhiteとblackを渡して初期化します。
import UIKit
import Interpolate

class ViewController: UIViewController {
    var interpolate: Interpolate?

    override func viewDidLoad() {
        super.viewDidLoad()

        interpolate = Interpolate(from: UIColor.white, to: UIColor.black, apply: { [weak self] color in
            self?.view.backgroundColor = color
        })
    }
}
Interpolateは、下のようにprogressをセットして使います。
下のように0.5を入れれば、applyに灰色(初期化時に渡したfromとtoの中間色)を引数に呼び出されます。
progressに1.0を入れればtoの黒色が引数に渡され、0.0の場合はfromの白色が渡されます。
interpolate = Interpolate(from: UIColor.white, to: UIColor.black, apply: { [weak self] color in
    self?.view.backgroundColor = color
})
interpolate?.progress = 0.5
次はスワイプに応じてprogressを渡す処理を実装します。
下のようにUIPanGestureRecognizerをセットします。
class ViewController: UIViewController {
    var interpolate: Interpolate?

    override func viewDidLoad() {
        super.viewDidLoad()

        interpolate = Interpolate(from: UIColor.white, to: UIColor.black, apply: { [weak self] color in
            self?.view.backgroundColor = color
        })

        view.addGestureRecognizer(UIPanGestureRecognizer(target: self, action: #selector(self.swipeView(sender:))))
    }

    @objc func swipeView(sender: UIPanGestureRecognizer) {
        let translation = sender.translation(in: view)
        let translatedCenterX = view.center.x + translation.x
        let progress = translatedCenterX / view.bounds.size.width
        interpolate?.progress = progress
    }
}
これでスワイプに応じて白から黒に変わる処理が実装できました。
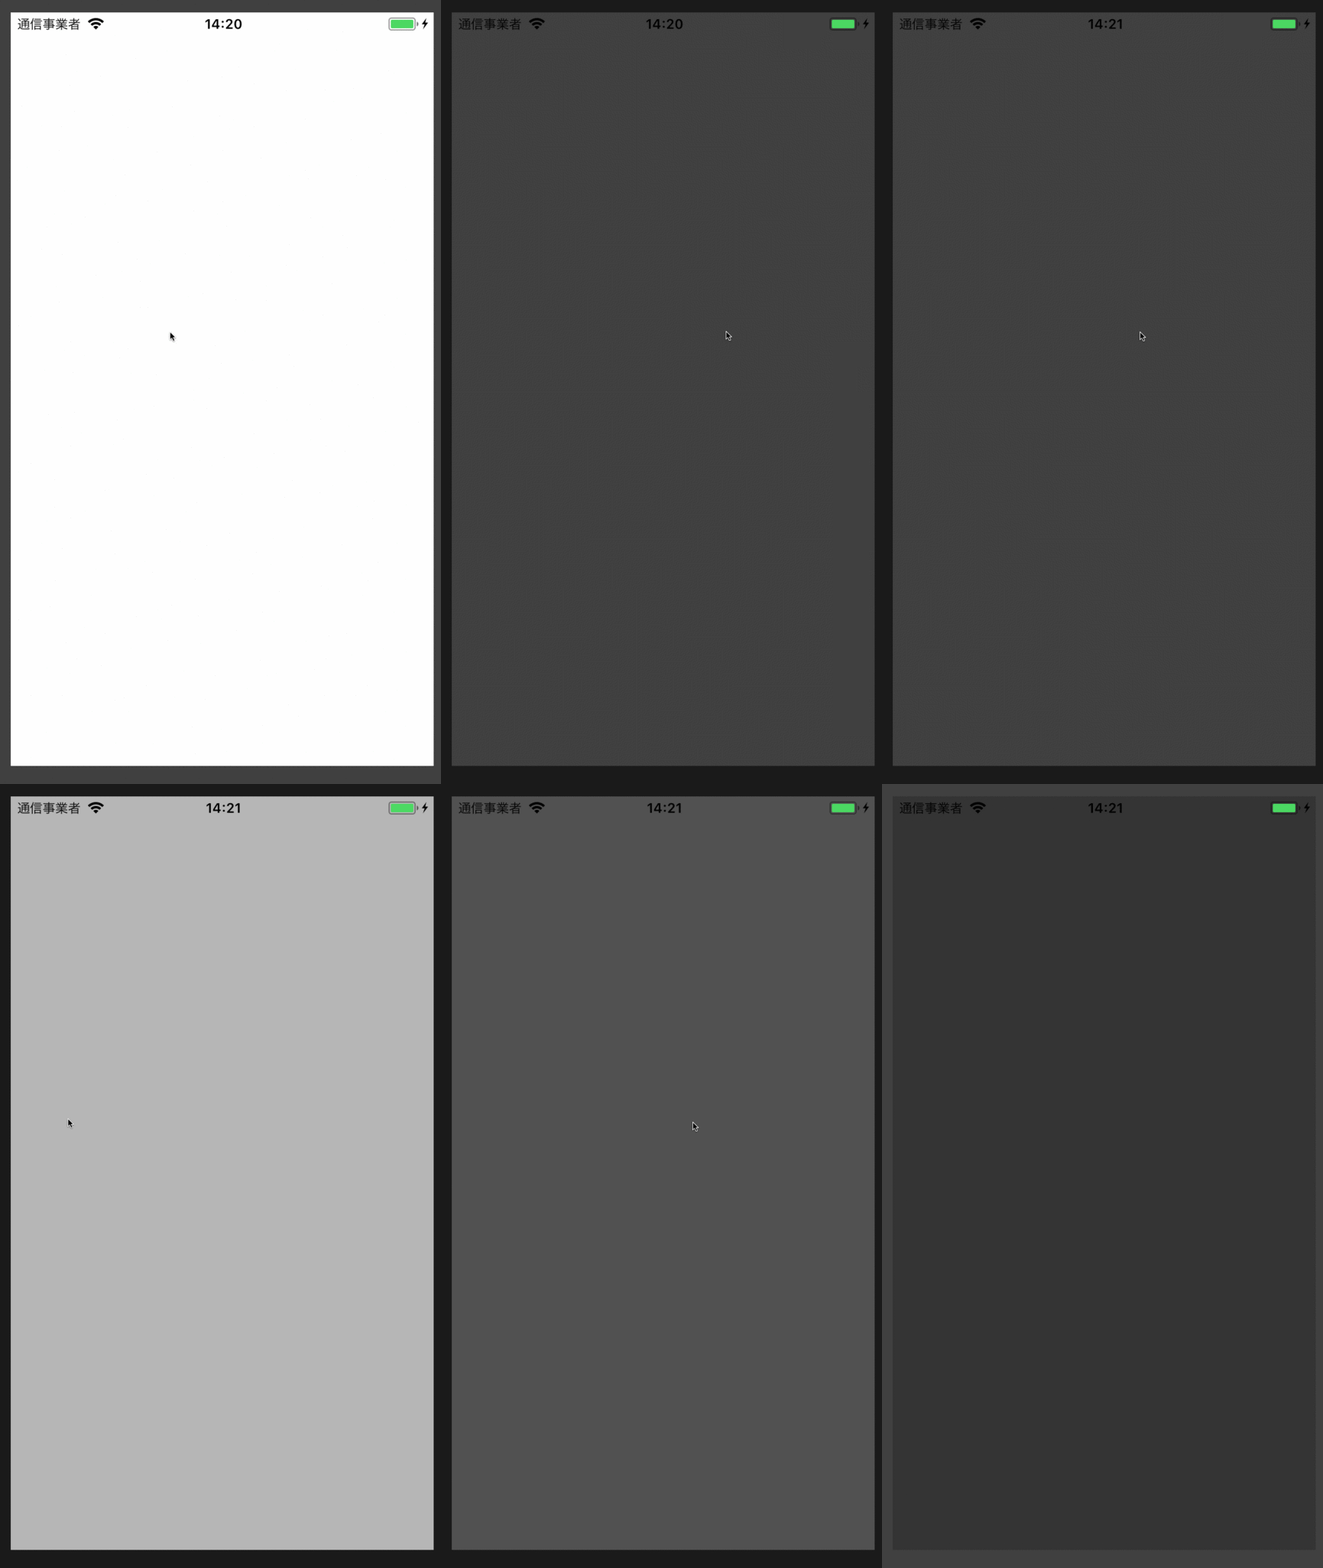
Interpolateですが、色だけでなくCGPointやCGFloatなども渡す事ができます。
Interpolate(from: CGPoint(x: 0, y: 0), to: CGPoint(x: 100, y: 100), apply: { [weak self] point in
})
【iOS】静的ライブラリ(.aファイル)を作ってみる
iPhoneアプリ開発をしているとよく出てくる静的ライブラリですが、自分が作ったことはなかったので試しに作ってみました。
静的ライブラリの作成
まずはXcodeの新規プロジェクトで、Static Libraryを選択します。

プロジェクトを作成すると下のようなフォルダ構成になっています。

まずはログを出力するだけのメソッドを実装します。
@interface MyLibrary : NSObject

- (void)outputLog;

@end
#import "MyLibrary.h"

@implementation MyLibrary

- (void)outputLog {
    NSLog(@"MyLibrary!");
}

@end
ビルドすると下のフォルダに.aファイルが生成されます。
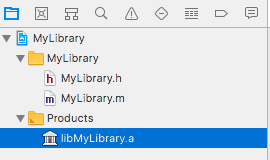
ライブラリを使う時は、使いたいプロジェクトに.aファイルとヘッダーファイルを移動します。
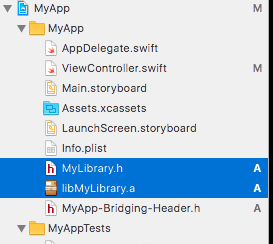
あとはBridgingHeaderでimportをする事でライブラリを使えます。
#import "MyLibrary.h"
import UIKit

class ViewController: UIViewController {
    override func viewDidLoad() {
        super.viewDidLoad()

        MyLibrary().outputLog()
    }
}