AndroidのEditTextやTextViewのフォントを明朝体にする
android:fontFamilyをserifにするだけです。
<TextView
    android:id="@+id/textview_first"
    android:layout_width="wrap_content"
    android:layout_height="wrap_content"
    android:text="@string/hello_first_fragment"
    app:layout_constraintBottom_toTopOf="@id/button_first"
    app:layout_constraintEnd_toEndOf="parent"
    app:layout_constraintStart_toStartOf="parent"
    app:layout_constraintTop_toTopOf="parent"
    android:fontFamily="serif" />

日本語も対応しています。
android:typefaceをserifにしても同じ結果になります。
typefaceはboldやitalicを指定できるプロパティーです。
<TextView
    android:id="@+id/textview_first"
    android:layout_width="wrap_content"
    android:layout_height="wrap_content"
    android:text="こんにちは"
    app:layout_constraintBottom_toTopOf="@id/button_first"
    app:layout_constraintEnd_toEndOf="parent"
    app:layout_constraintStart_toStartOf="parent"
    app:layout_constraintTop_toTopOf="parent"
    android:typeface="serif" />
【Kotlin】Applicationを継承したクラスを試してみる
AndroidのApplicationクラスを使ってみました。
Applicationを継承したクラスは全Activityからアクセスできるクラスになります。
クラスは下のように定義します。
class MainApplication: Application() {
}
下のようにAndroidManifest.xmlのapplicationタグに追加することでActivityから呼び出せるようになります。
<application android:name=".MainApplication">
</application>
Activityからは下のように呼び出す事ができます。
もしAndroidManifest.xmlへの記載がない場合、applicationにはandroid.app.Applicationクラスのインスタンスが入ります。
val app = (application as MainApplication)
ライフサイクルメソッドとしては、インスタンス作成時に呼ばれるonCreateなどがあります。
class MainApplication: Application() {
    override fun onCreate() {
        super.onCreate()
    }
}
【Kotlin】NavControllerを試してみる
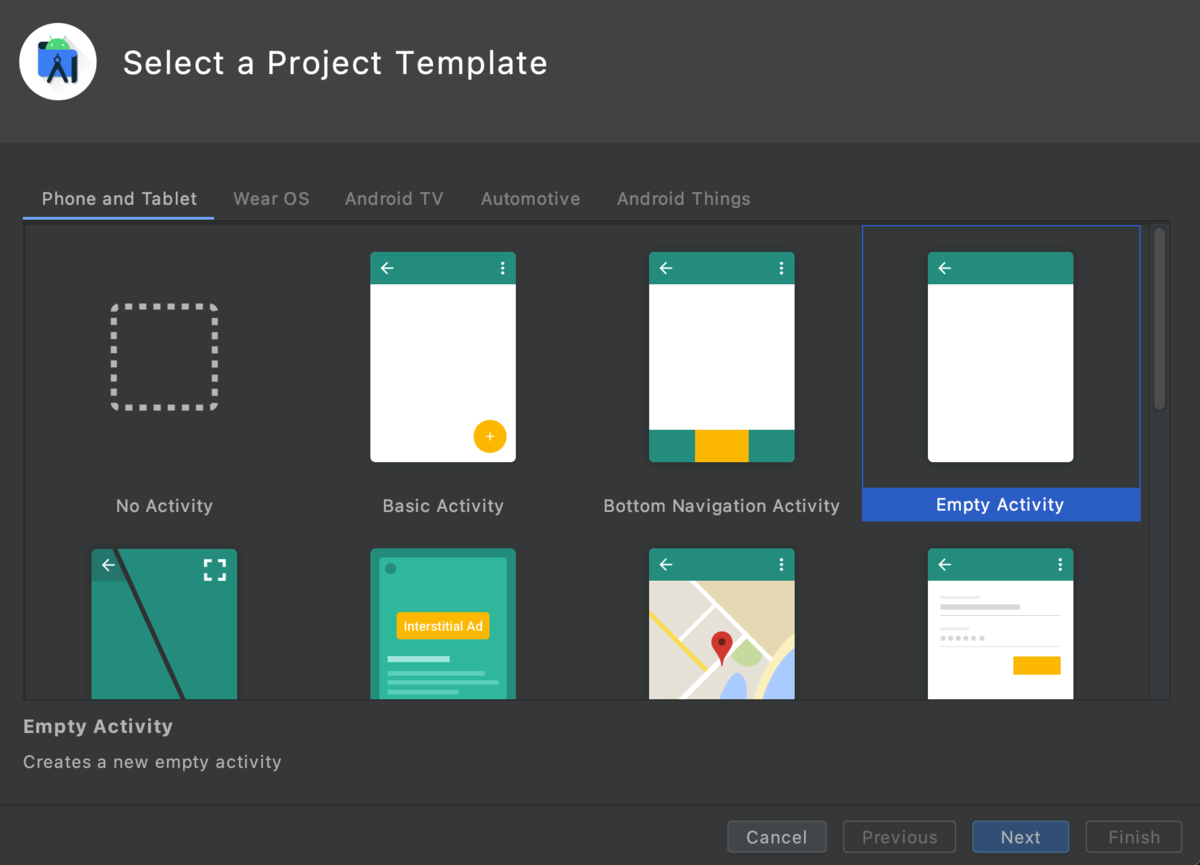
Empty Activityを選んでプロジェクト作成をします。
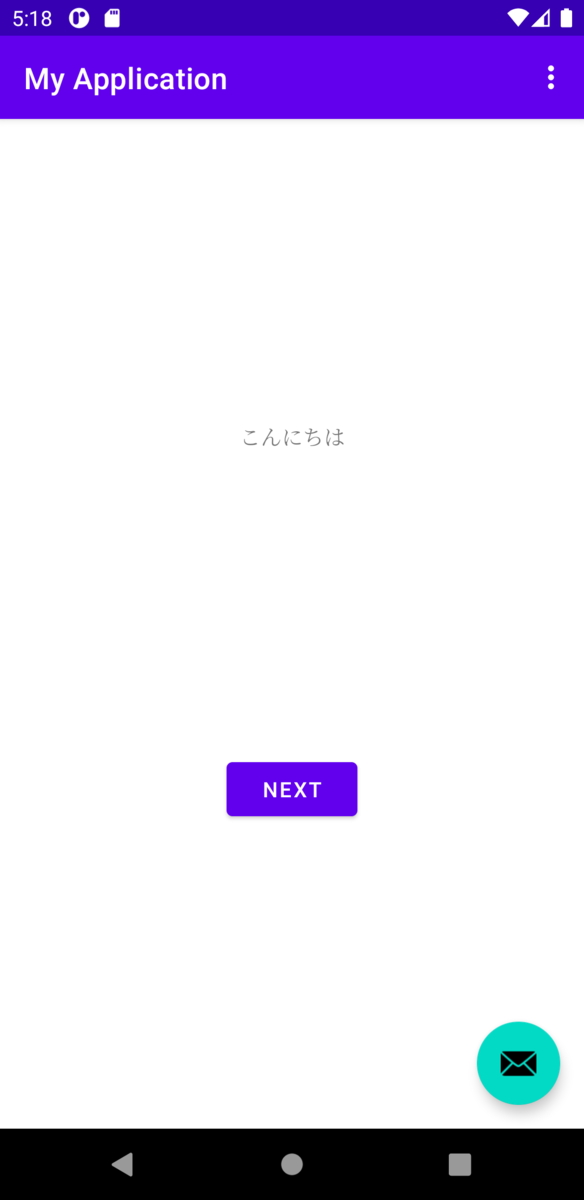
起動すると下のようにラベルだけの画面が表示されます。

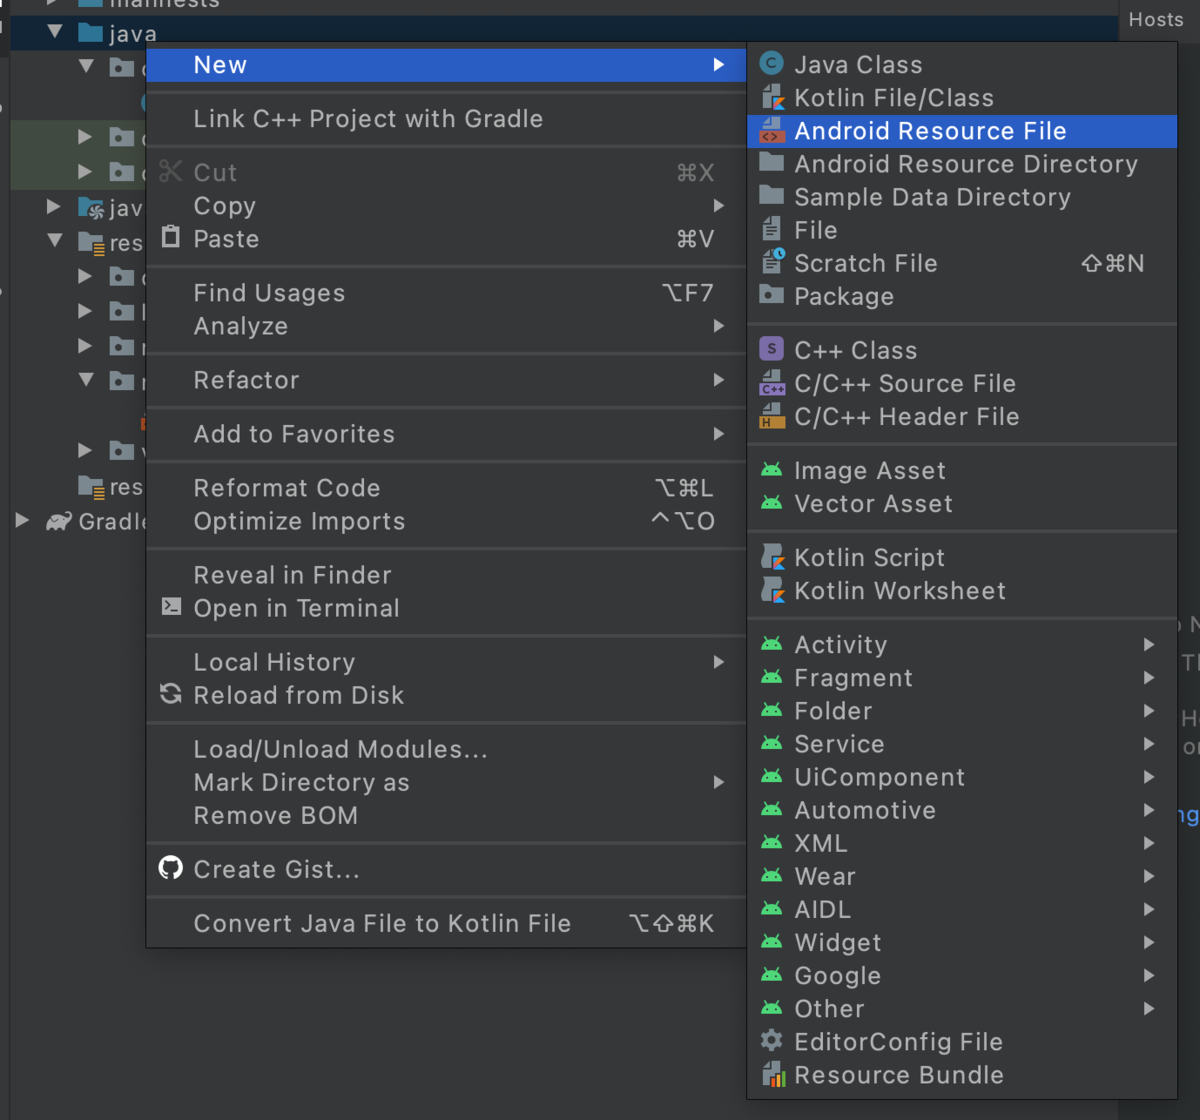
次はナビゲーションを作成します。 まず新規作成でAndroid Resource Fileを選択します。
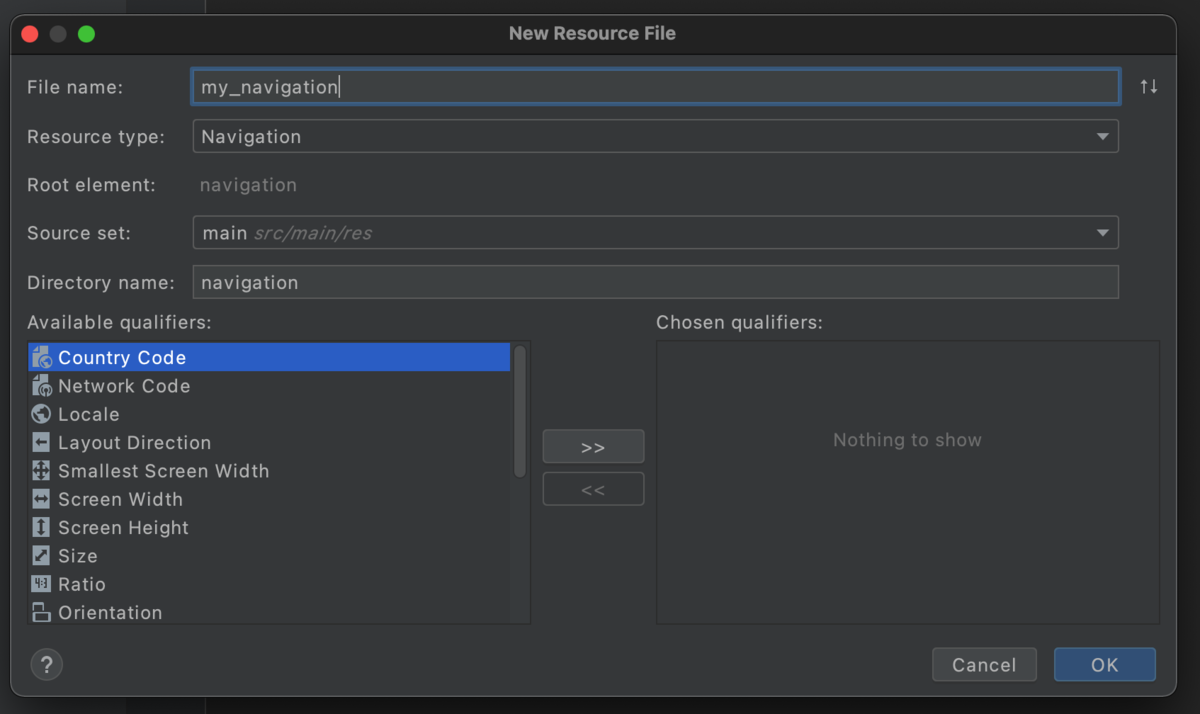
Resource TypeをNavigationにしてOKを押します。
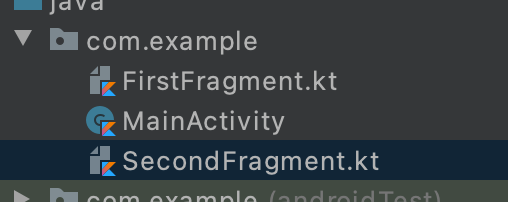
my_navigation.xmlが作られたので、次はここに登録するFragmentを2つ作ります。
今回はFirstFragmentとSecondFragmentという2つのフラグメントを作成しました。
Fragmentができたのでmy_navigation.xmlに登録します。
my_navigation.xmlを開いて画面上部の+ボタンからフラグメントを2つ追加します。
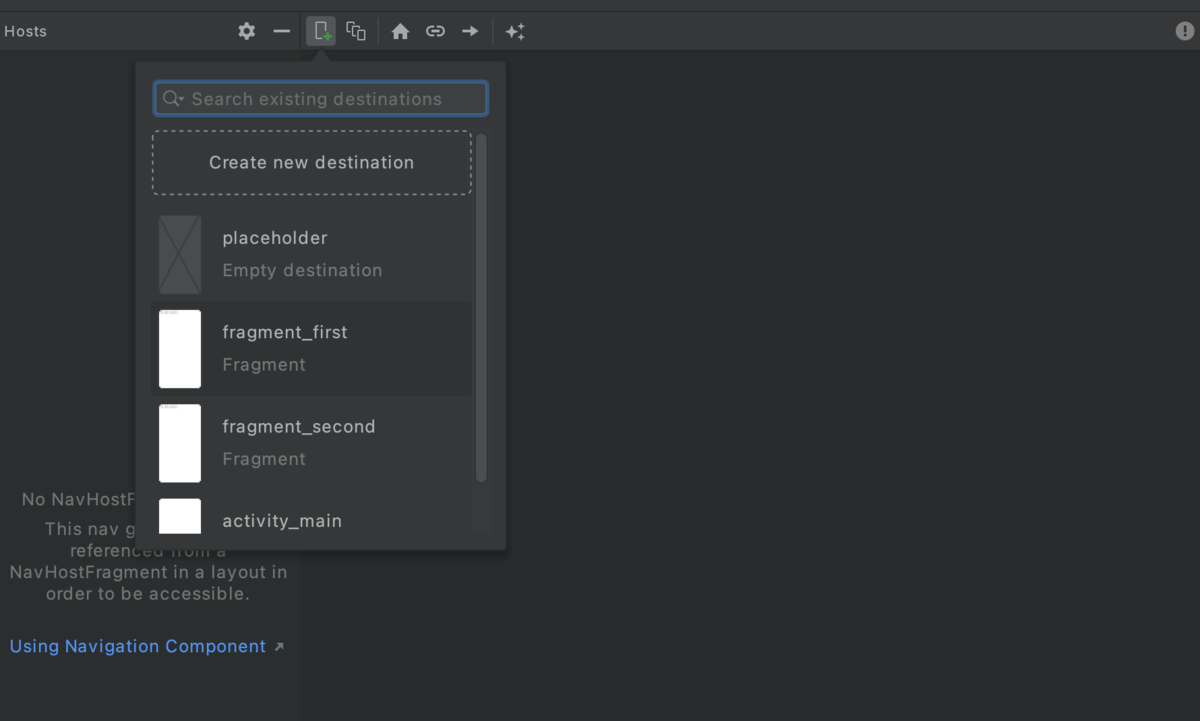
下のようにフラグメントが2つ登録されました。
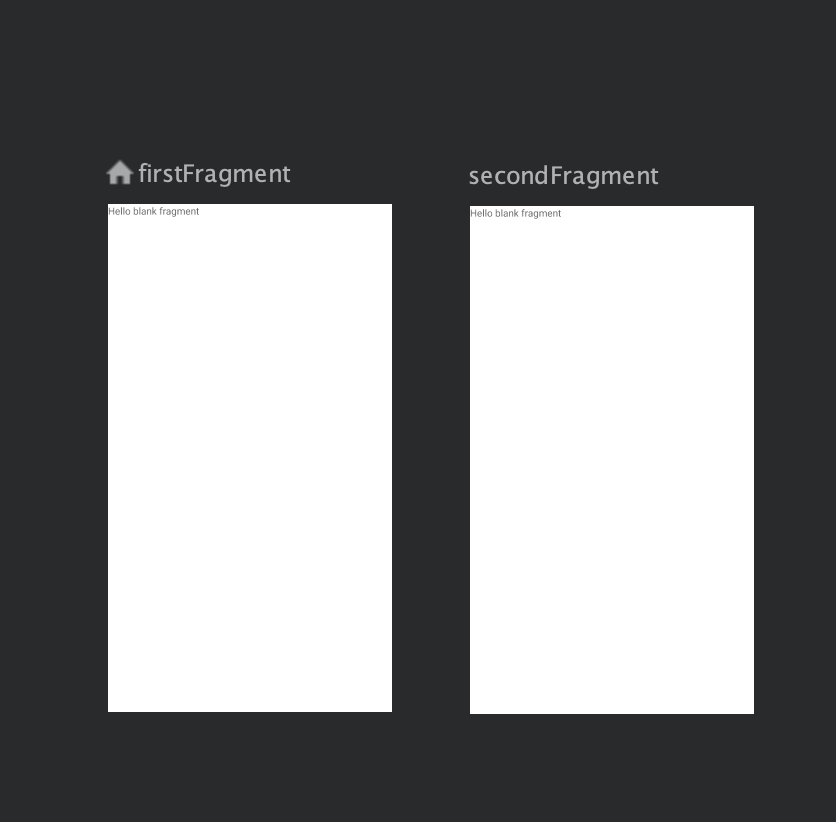
次はナビゲーションを表示します。
activity_main.xmlを下のように変更します。
<?xml version="1.0" encoding="utf-8"?>
<androidx.constraintlayout.widget.ConstraintLayout xmlns:android="http://schemas.android.com/apk/res/android"
    xmlns:app="http://schemas.android.com/apk/res-auto"
    xmlns:tools="http://schemas.android.com/tools"
    android:layout_width="match_parent"
    android:layout_height="match_parent"
    tools:context=".MainActivity">

    <fragment
        android:id="@+id/nav_host_fragment"
        android:layout_height="match_parent"
        android:layout_width="match_parent"
        android:name="androidx.navigation.fragment.NavHostFragment"
        app:navGraph="@navigation/my_navigation"
        app:defaultNavHost="true" />

</androidx.constraintlayout.widget.ConstraintLayout>
アプリを起動するとFirstFragmentの内容が表示されました。

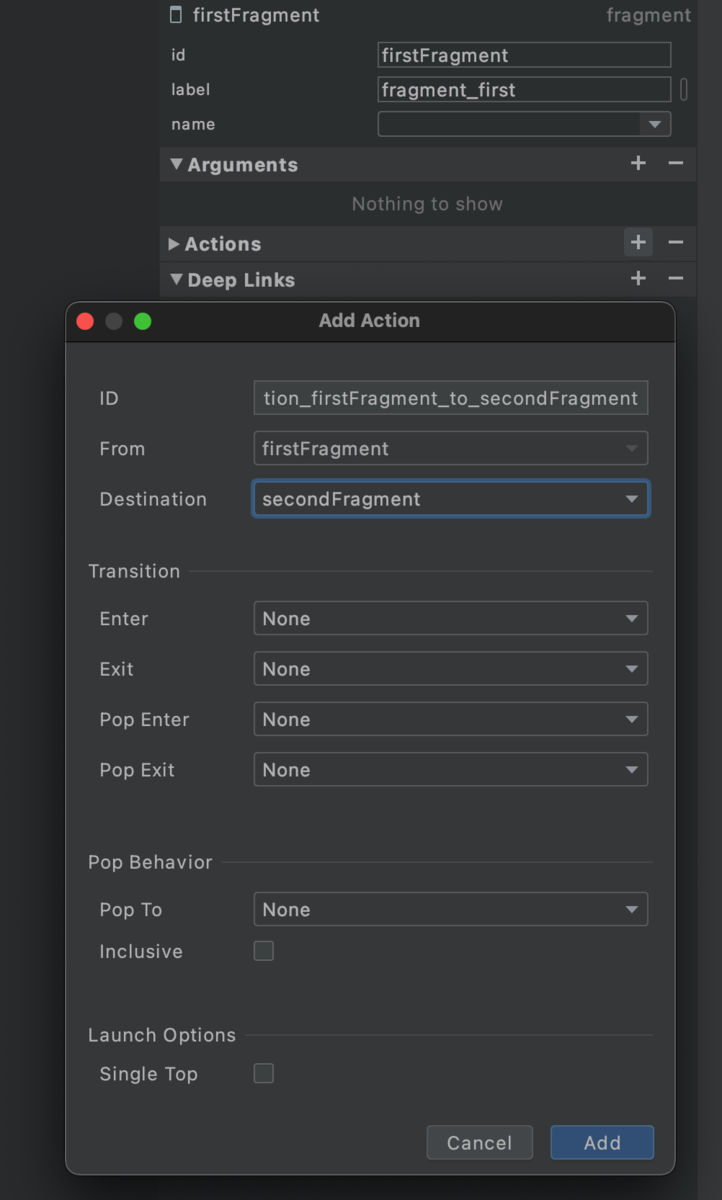
次はSecondFragmentへの遷移を実装します。
my_navigation.xmlの右側のActionsの+からActionを作成します。
次はFirstFragmentに画面遷移用のボタンを作成します。
fragment_first.xmlを下のように変更します。
<?xml version="1.0" encoding="utf-8"?>
<FrameLayout xmlns:android="http://schemas.android.com/apk/res/android"
    xmlns:tools="http://schemas.android.com/tools"
    android:layout_width="match_parent"
    android:layout_height="match_parent"
    tools:context=".FirstFragment">

    <com.google.android.material.floatingactionbutton.FloatingActionButton
        android:id="@+id/fragment_first_button"
        android:layout_width="wrap_content"
        android:layout_height="wrap_content"
        android:layout_gravity="center" />
</FrameLayout>
FirstFragment.ktのonViewCreatedにボタン押下時の画面遷移処理を追加します。
override fun onViewCreated(view: View, savedInstanceState: Bundle?) {
    super.onViewCreated(view, savedInstanceState)

    view.findViewById<FloatingActionButton>(R.id.fragment_first_button)?.setOnClickListener {
        findNavController().navigate(R.id.action_firstFragment_to_secondFragment)
    }
}
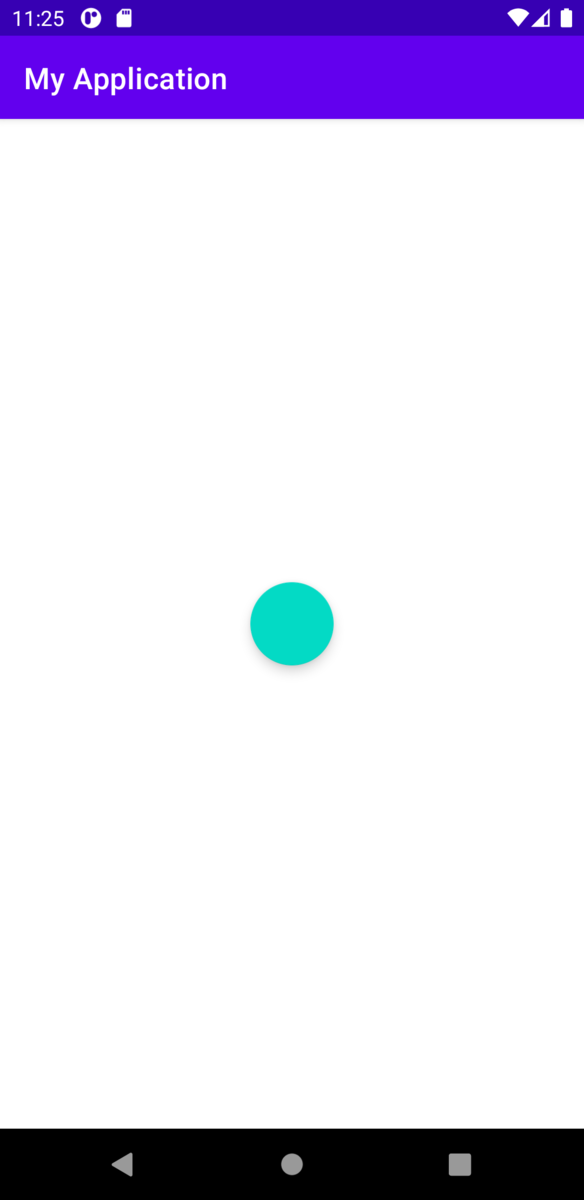
起動するとボタンだけの画面が表示されます。
このボタンをタップすれば次の画面に移動します。
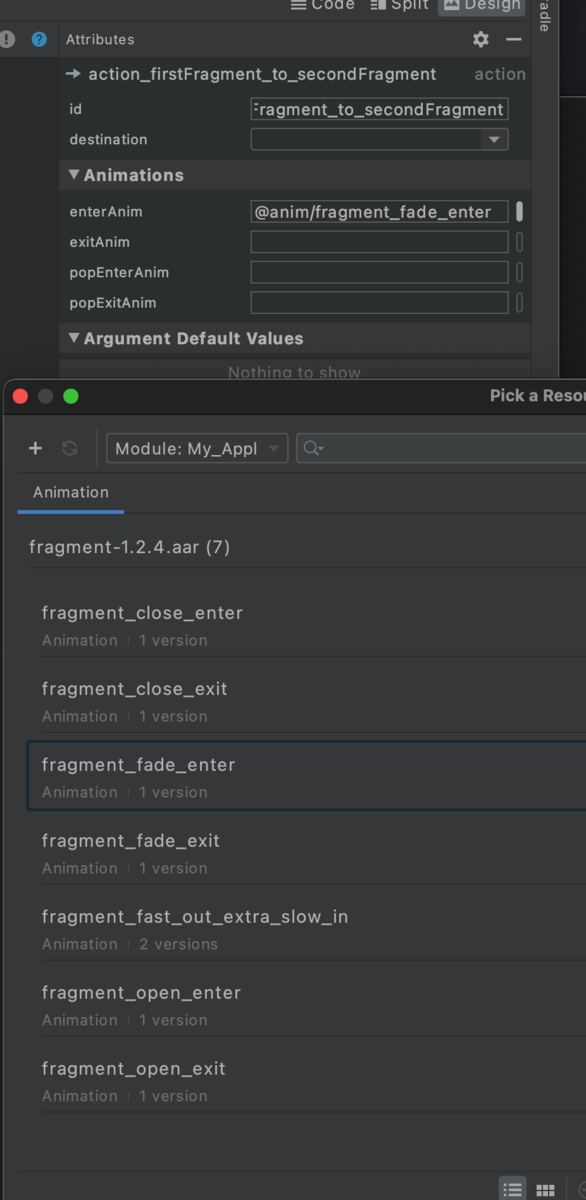
先程作ったActionを選択してAnimationsの所を編集すれば遷移時のアニメーションを指定できます。
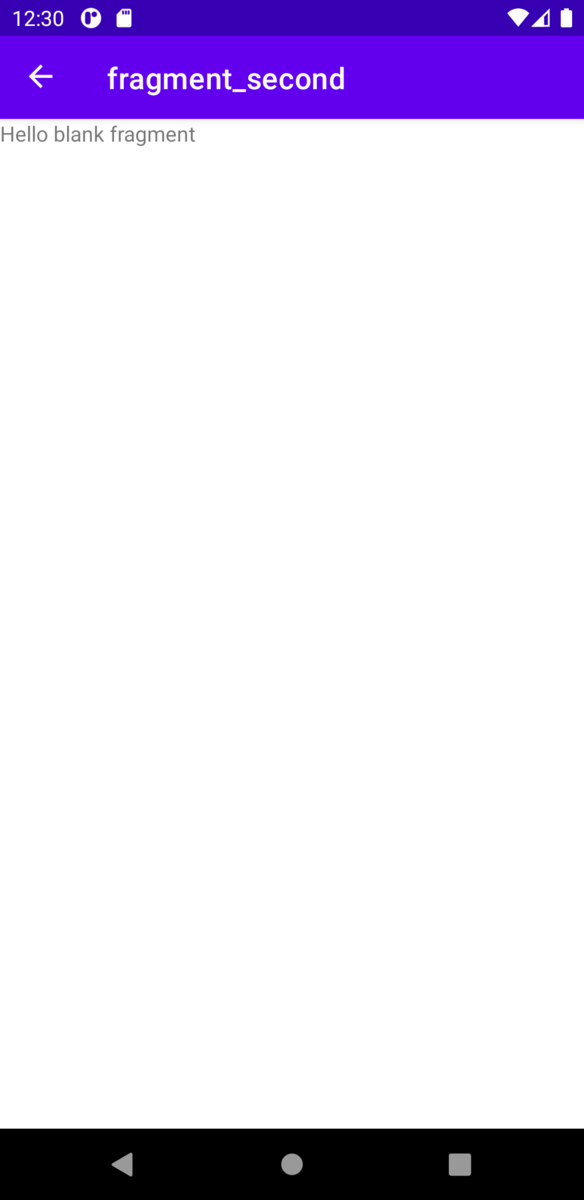
ActionBarの戻るボタンですが、ActivityのsetupActionBarWithNavControllerを呼び出す事で表示できます。
押されたときの動作はonSupportNavigateUpで実装します。
class MainActivity : AppCompatActivity() {
    override fun onCreate(savedInstanceState: Bundle?) {
        super.onCreate(savedInstanceState)
        setContentView(R.layout.activity_main)

        setupActionBarWithNavController(findNavController(R.id.nav_host_fragment))
    }

    override fun onSupportNavigateUp(): Boolean {
        return findNavController(R.id.nav_host_fragment).navigateUp()
    }
}
次は遷移のときに変数を渡してみます。
まずはそれぞれのbuild.gradleで下のようにプラグインを設定します。
classpath "androidx.navigation:navigation-safe-args-gradle-plugin:2.3.4"
apply plugin: "androidx.navigation.safeargs.kotlin"
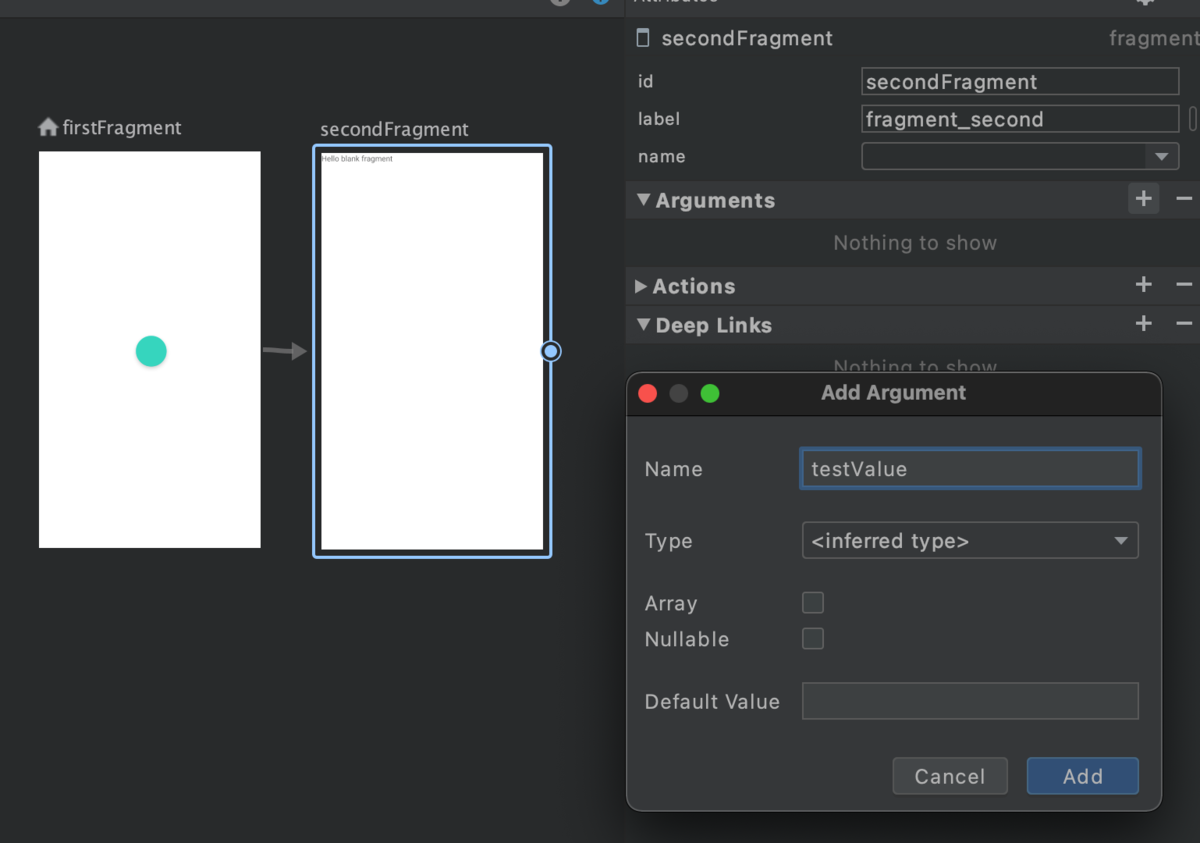
プラグインを入れたらmy_navigation.xmlを開いて遷移先を選択、画面右側Argumentsの+から変数を追加します。
この状態でビルドするとFirstFragmentDirectionsというクラスが生成されます。
画面遷移時のnavigateメソッドの引数にこのクラスを渡すようにします。
findNavController().navigate(FirstFragmentDirections.actionFirstFragmentToSecondFragment("testValue"))
遷移先では自動生成されたSecondFragmentArgsというクラスを使って変数を取り出します。
override fun onCreate(savedInstanceState: Bundle?) {
    super.onCreate(savedInstanceState)
    arguments?.let {
        val args = SecondFragmentArgs.fromBundle(it)
        Log.d("test", "${args.testValue}")
    }
}
ログを見ると無事に渡せていることが分かります。

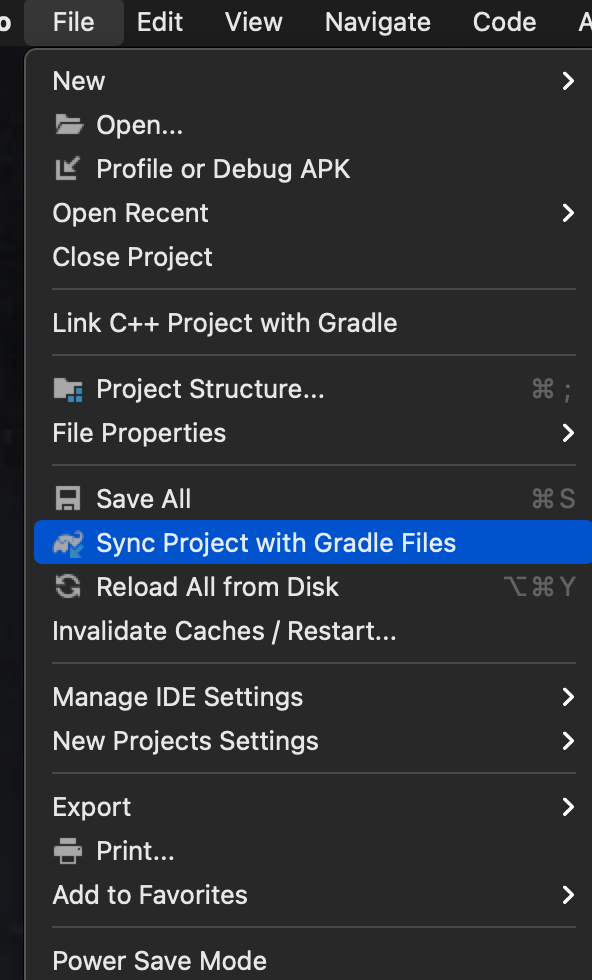
もし上記クラスが自動生成されない場合、Android studioの「Sync Project with Gradle Files」を選択すると良いかもしれません。
SF Symbols + UIImageでアイコンを表示する
SF SymbolsというAppleの提供しているアイコンを使える機能を試してみました。
SF Symbols + UIImageでアイコンを表示する
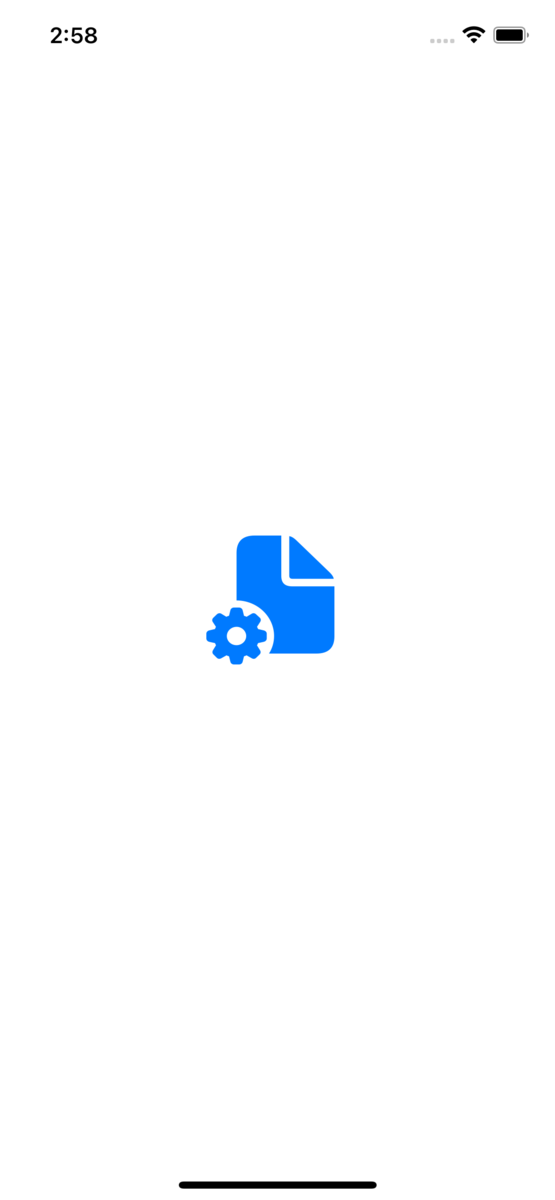
使い方は簡単で、下のようにUIImageの初期化でアイコン名を渡すだけです。
引数のラベルがUIImage(name: "")ではなくUIImage(systemName: "")なのでそこだけ注意して下さい。
class ViewController: UIViewController {
    override func viewDidLoad() {
        super.viewDidLoad()

        let imageView = UIImageView(image: UIImage(systemName: "doc.badge.gearshape.fill"))
        imageView.frame.size = CGSize(width: 100, height: 100)
        imageView.center = view.center
        view.addSubview(imageView)
    }
}
実行すると下のようにアイコンを表示できます。
アイコン名を確認したい時は下URLからアプリをダウンロードして下さい。
アプリを起動すると下のようにアイコン一覧とアイコン名が表示されます。

画像の色を変えたい場合、下のようにtintColorを変更します。
imageView.tintColor = .red
画像が赤になりました。

画像はベクターデータの為、大きくしても劣化しません。
下はサイズを500x500に変更したものです。

SF Symbols + UILabelで文字の中にアイコンを入れる
SF Symbolsは画像でしか取れないので、文字の中に入れたい場合は下のようにNSTextAttachmentを使います。
let label = UILabel()
let text = NSMutableAttributedString(string: "アイコン前")
text.append(NSAttributedString(attachment: NSTextAttachment(image: UIImage(systemName: "doc.badge.gearshape.fill")!)))
text.append(NSAttributedString(string: " 後"))
label.attributedText = text
label.sizeToFit()
label.center = view.center
view.addSubview(label)
実行すると文字の間にアイコンが入った事が分かります。

参考URL
iOS13のカスタムフォントを試してみる
iOS13から使えるようになっていたカスタムフォントのAPIを試してみました。
この機能を使うと端末へのフォントインストールやフォントの確認ができます。
まずはフォント一覧の取得をしてみようと思います。 最初にテスト用のプロジェクトを作ります。

プロジェクトを作ったらプロジェクト設定の「Signing & Capabilities」でFontsを有効化します。

Storyboardで下のようにラベルとボタンだけ配置します。

最後にボタンを押したらUIFontPickerViewController(フォント一覧画面)を表示するような実装をします。
class ViewController: UIViewController {
    @IBAction func tapBtn() {
        let v = UIFontPickerViewController()
        present(v, animated: true, completion: nil)
    }
}
アプリを起動してボタンを押すとフォント一覧を見る事ができました。

次に一覧からフォントを選んで使います。
コードは下のとおりです。
ViewControllerをUIFontPickerViewControllerDelegateに準拠させました。
class ViewController: UIViewController {
    @IBOutlet weak var testLabel: UILabel!

    @IBAction func tapBtn() {
        let v = UIFontPickerViewController()
        v.delegate = self
        present(v, animated: true, completion: nil)
    }
}

extension ViewController: UIFontPickerViewControllerDelegate {
    func fontPickerViewControllerDidPickFont(_ viewController: UIFontPickerViewController) {
        guard let fontDescriptor = viewController.selectedFontDescriptor else {
            return
        }
        testLabel.font = UIFont(descriptor: fontDescriptor, size: 17)
    }
}
これでフォント選択したらラベルのフォントが変わるようになりました。

フォント一覧ですが、filteredLanguagesPredicateを使うと日本語対応フォントのみといった絞り込みができます。
let v = UIFontPickerViewController()
v.configuration.filteredLanguagesPredicate = UIFontPickerViewController.Configuration.filterPredicate(forFilteredLanguages: ["js"])
次はフォントのインストールをしてみます。
フォントはNikkyou Sansというフォントを使わせて頂きました。
Nikkyou Sans Font | daredemotypo | FontSpace
ダウンロードしたフォントをxcassetsに追加します。

フォントのインストール処理は下のとおりです。
CTFontManagerRegisterFontsWithAssetNamesメソッドでxcassetsのフォントを登録できます。
class ViewController: UIViewController {
    override func viewDidLoad() {
        super.viewDidLoad()

        CTFontManagerRegisterFontsWithAssetNames(["NikkyouSans-B6aV"] as CFArray, nil, .user, true, { arr, result in
            print(arr)
            print(result)
            return true
        })
    }
}
アプリを起動すると下のようにインストール確認画面が表示されます。

インストールしたフォントは下のようにフォント一覧画面で選べるようになります。

【SwiftUI】GeometryReaderでViewのサイズを取得する
画面サイズによって処理を変えたかったため、GeometryReaderというクラスを使って画面サイズを取得しました。
Viewのサイズは下の形で取得できます。
struct ContentView: View {
    var body: some View {
        GeometryReader { geometry in
            Text(String("\(geometry.size)"))
        }
    }
}
実行すると下のようにViewのサイズが取得できます。

ただ上記ViewサイズはSafeAreaが除外されているので注意が必要です。
SafeAreaを取得したい場合はしたのように記述します。
struct ContentView: View {
    var body: some View {
        GeometryReader { geometry in
            Text(String("\(geometry.safeAreaInsets)"))
        }
    }
}
View全体ではなく、内側にあるViewのサイズを取りたい場合は下のように入れ子にします。
struct ContentView: View {
    var body: some View {
        VStack {
            Spacer().frame(height: 100)
            GeometryReader { geometry in
                Text(String("\(geometry.size)"))
            }
            Spacer().frame(height: 100)
        }
    }
}
実行すると内側のViewのサイズを取れました。

GeometryReaderはWidget上でも使う事ができます。

frameメソッドを使う事で、xとyも取得できます。
引数はCoordinateSpaceというクラスです。
struct ContentView: View {
    var body: some View {
        GeometryReader { geometry in
            Text(String("\(geometry.frame(in: .global))"))
        }
    }
}
実行結果は下のとおりです。
SafeAreaも含めた結果になるので注意が必要です。

CoordinateSpaceは自分でcoordinateSpaceメソッドを使って定義する事も可能です。
下の例ではVStackでTestという名前のCoordinateSpaceを定義して、それに対する位置を取得しています。
struct ContentView: View {
    var body: some View {
        VStack {
            Spacer().frame(height: 100)
            GeometryReader { geometry in
                Text(String("\(geometry.frame(in: .named("Test")))"))
            }
            Spacer().frame(height: 100)
        }.coordinateSpace(name: "Test")
    }
}
実行するとVStackに対する位置情報が取得できている事が分かります。

Xcode 12でbuilding for iOS Simulator, but linking in object file built for iOS, for architecture arm64というエラーが出た時の対応
Xcode 12でビルドした時、下のようなエラーが出た時の対応です。
エラーはCocoaPodsで入れたRealmで発生していました。
building for iOS Simulator, but linking in object file built for iOS, for architecture arm64
結論としては、PodfileにEXCLUDED_ARCHSに関する記述を追加してpod installしたら動くようになりました。
post_install do |installer|
  installer.pods_project.targets.each do |target|
    target.build_configurations.each do |config|
      if target.name.include?('Realm')
        config.build_settings['EXCLUDED_ARCHS[sdk=iphonesimulator*]'] = 'arm64'
      end
    end
  end
end
参考にしたのは下URLです。
詳細なエラー内容は下のとおりです。
おそらくRealmのlibrealmcore-ios.aをシミュレータ向けにビルドしようとしたけどarm64になっていたという内容です。
シミュレータはx86_64というアーキテクチャを使うので、正しく指定できてなくてエラーになったのかと思います。
MyApp/Pods/Realm/core/librealmcore-ios.a(bptree.o), building for iOS Simulator, but linking in object file built for iOS, for architecture arm64
各端末で使っているアーキテクチャは以下URLが参考になりました。
iOS・tvOS・watchOS デバイスのアーキテクチャについてのまとめ – ymyzk’s blog
試しにfileコマンドでlibrealmcore-ios.aのアーキテクチャを見た所、arm64だけでなくx86_64にも対応していました。

対応自体はしているので、XcodeのRealmとRealmSwiftのExcluded Architecturesにarm64を指定すればx86_64でビルドできるようになります。

先程も書いた下処理をPodfileに書けば自動でRealmとRealmSwiftにExcluded Architecturesを設定してくれます。
post_install do |installer|
  installer.pods_project.targets.each do |target|
    target.build_configurations.each do |config|
      if target.name.include?('Realm')
        config.build_settings['EXCLUDED_ARCHS[sdk=iphonesimulator*]'] = 'arm64'
      end
    end
  end
end
この処理によってシミュレータの時だけarm64を除外する設定が追加されます。

DebugのBuild Active Architecture OnlyをYesに変える事で動かすこともできました。

Debugで常にBuild Active Architecture OnlyをYesにしたい場合は下処理をPodfileに記述することで実現できます。
post_install do |installer|
  installer.pods_project.targets.each do |target|
    target.build_configurations.each do |config|
      if config.name == 'Debug'
        config.build_settings['ONLY_ACTIVE_ARCH'] = 'YES'
      end
    end
  end
end