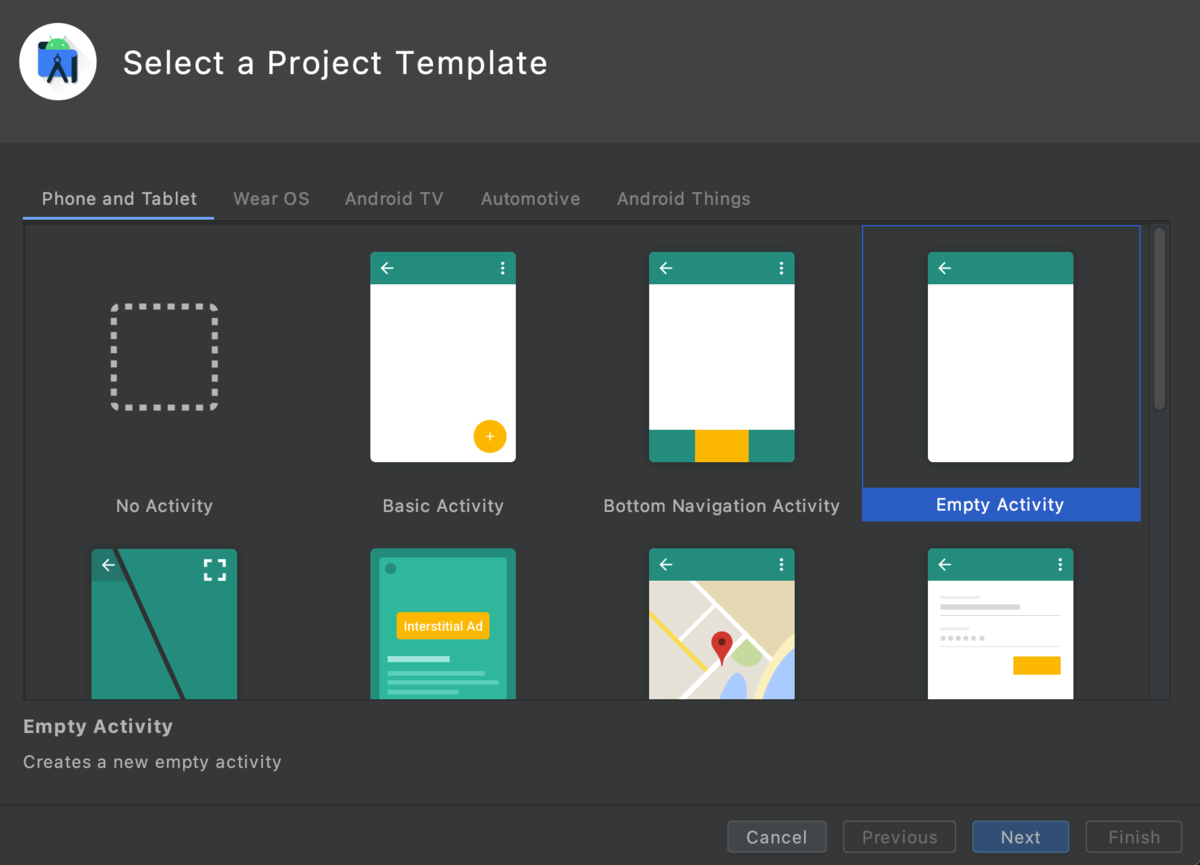
Empty Activityを選んでプロジェクト作成をします。
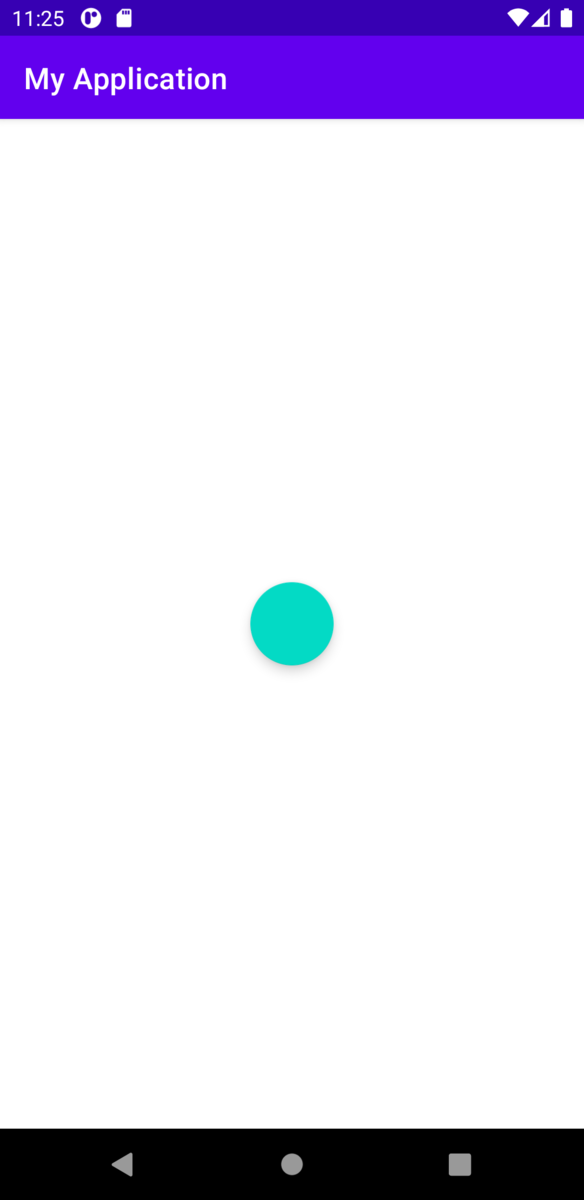
起動すると下のようにラベルだけの画面が表示されます。

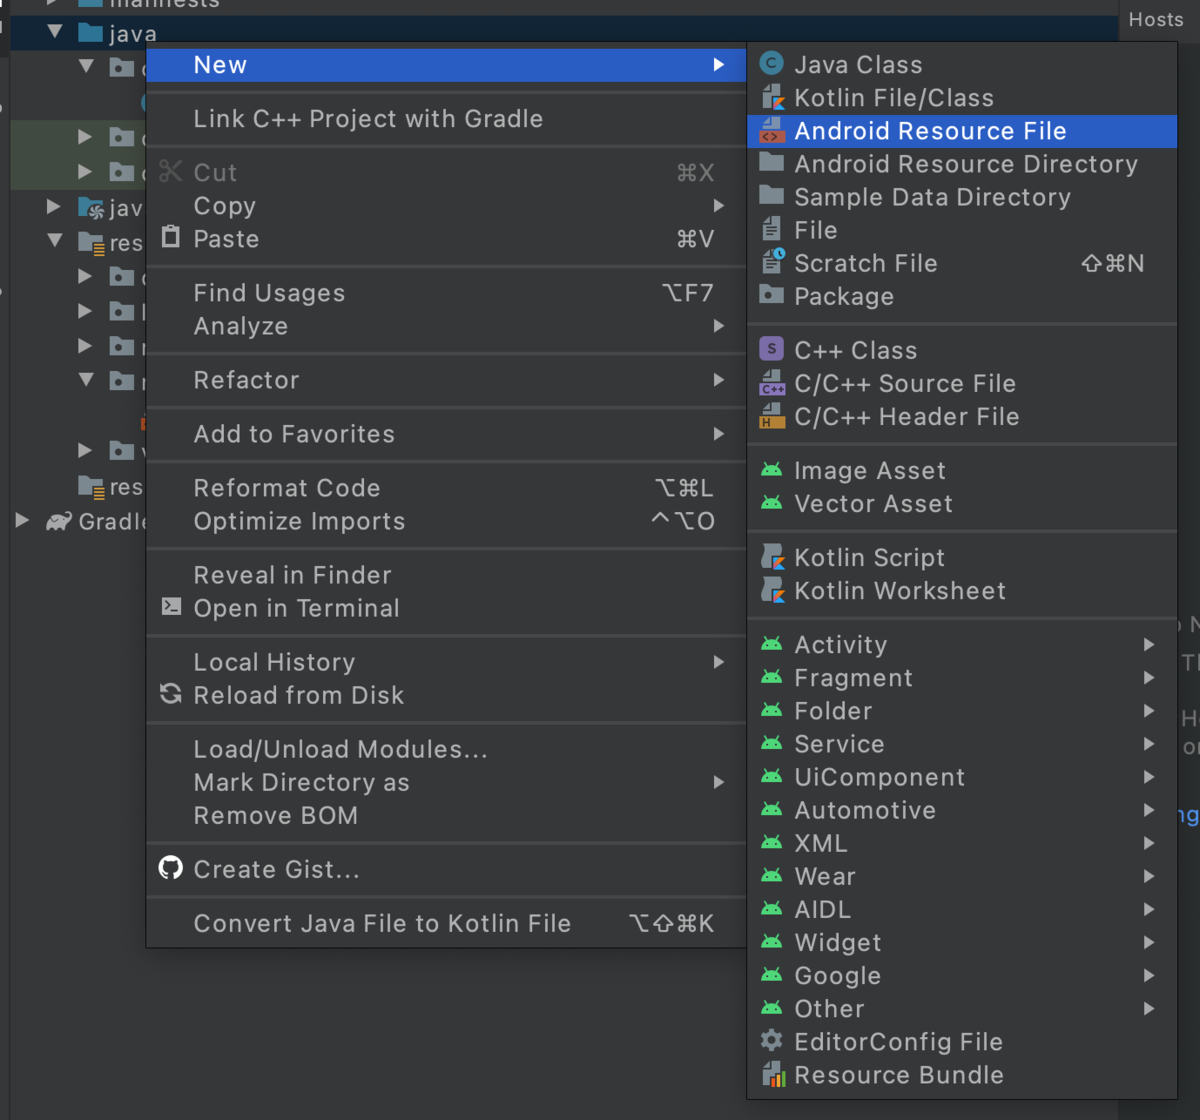
次はナビゲーションを作成します。 まず新規作成でAndroid Resource Fileを選択します。
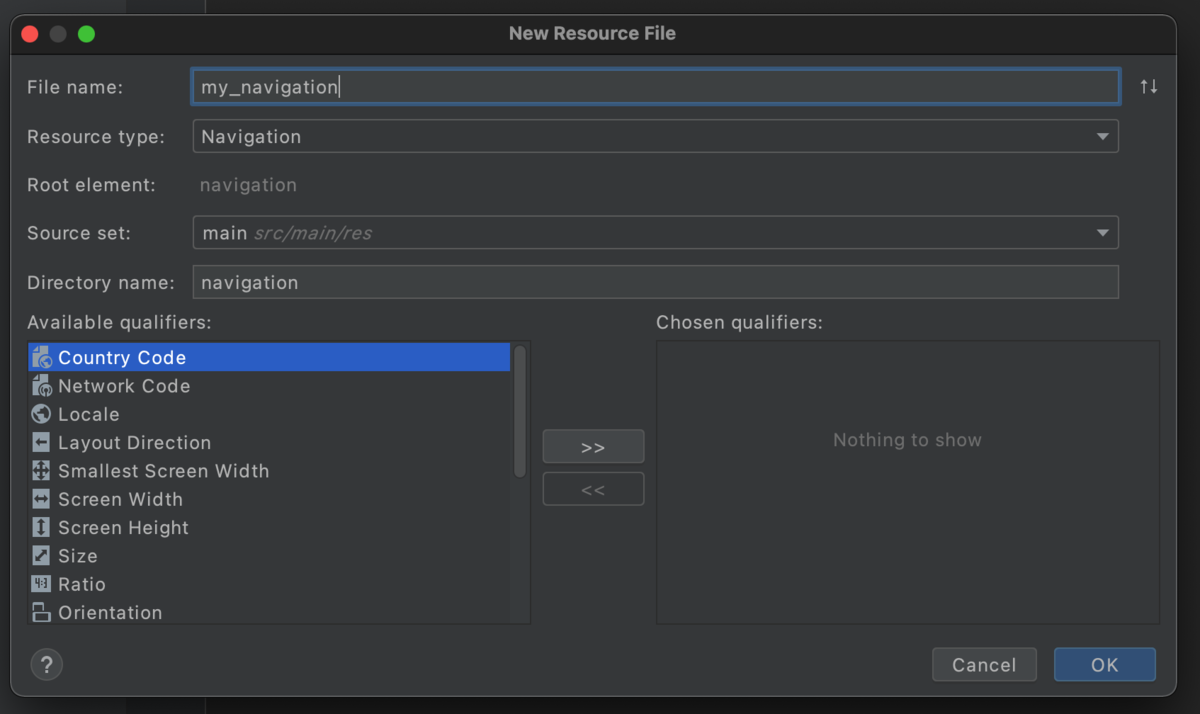
Resource TypeをNavigationにしてOKを押します。
my_navigation.xmlが作られたので、次はここに登録するFragmentを2つ作ります。
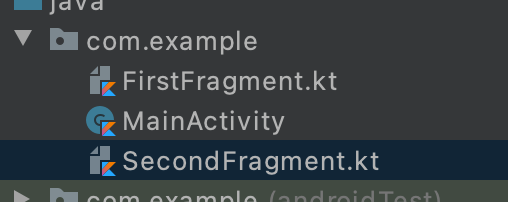
今回はFirstFragmentとSecondFragmentという2つのフラグメントを作成しました。
Fragmentができたのでmy_navigation.xmlに登録します。
my_navigation.xmlを開いて画面上部の+ボタンからフラグメントを2つ追加します。
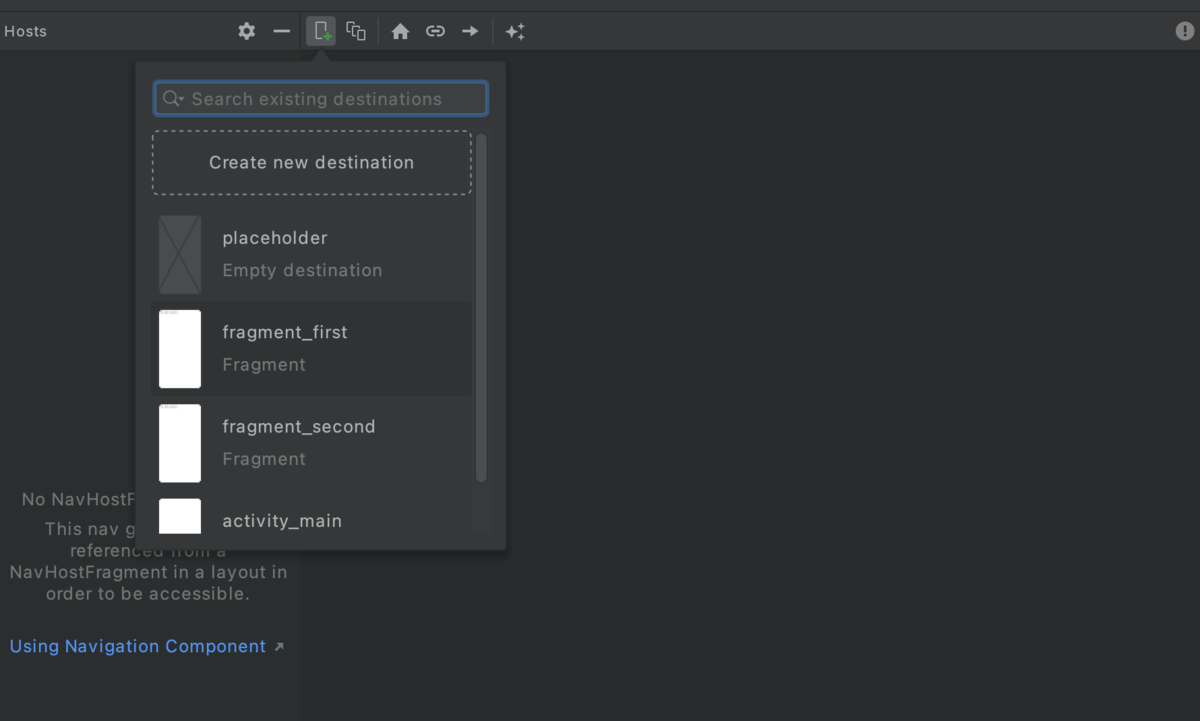
下のようにフラグメントが2つ登録されました。
次はナビゲーションを表示します。
activity_main.xmlを下のように変更します。
<?xml version="1.0" encoding="utf-8"?>
<androidx.constraintlayout.widget.ConstraintLayout xmlns:android="http://schemas.android.com/apk/res/android"
    xmlns:app="http://schemas.android.com/apk/res-auto"
    xmlns:tools="http://schemas.android.com/tools"
    android:layout_width="match_parent"
    android:layout_height="match_parent"
    tools:context=".MainActivity">

    <fragment
        android:id="@+id/nav_host_fragment"
        android:layout_height="match_parent"
        android:layout_width="match_parent"
        android:name="androidx.navigation.fragment.NavHostFragment"
        app:navGraph="@navigation/my_navigation"
        app:defaultNavHost="true" />

</androidx.constraintlayout.widget.ConstraintLayout>
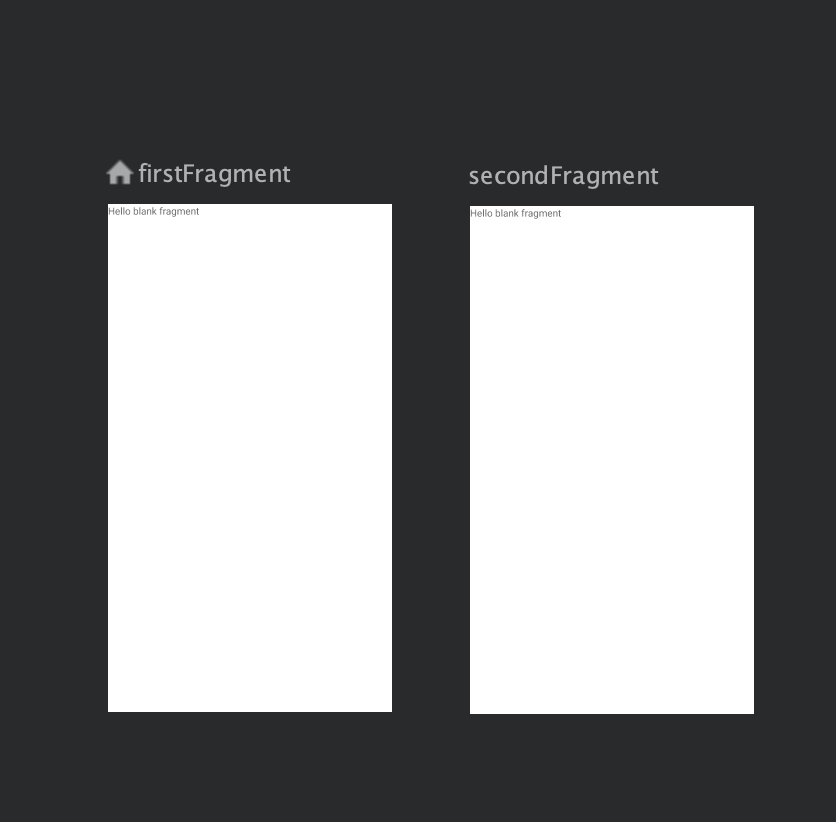
アプリを起動するとFirstFragmentの内容が表示されました。

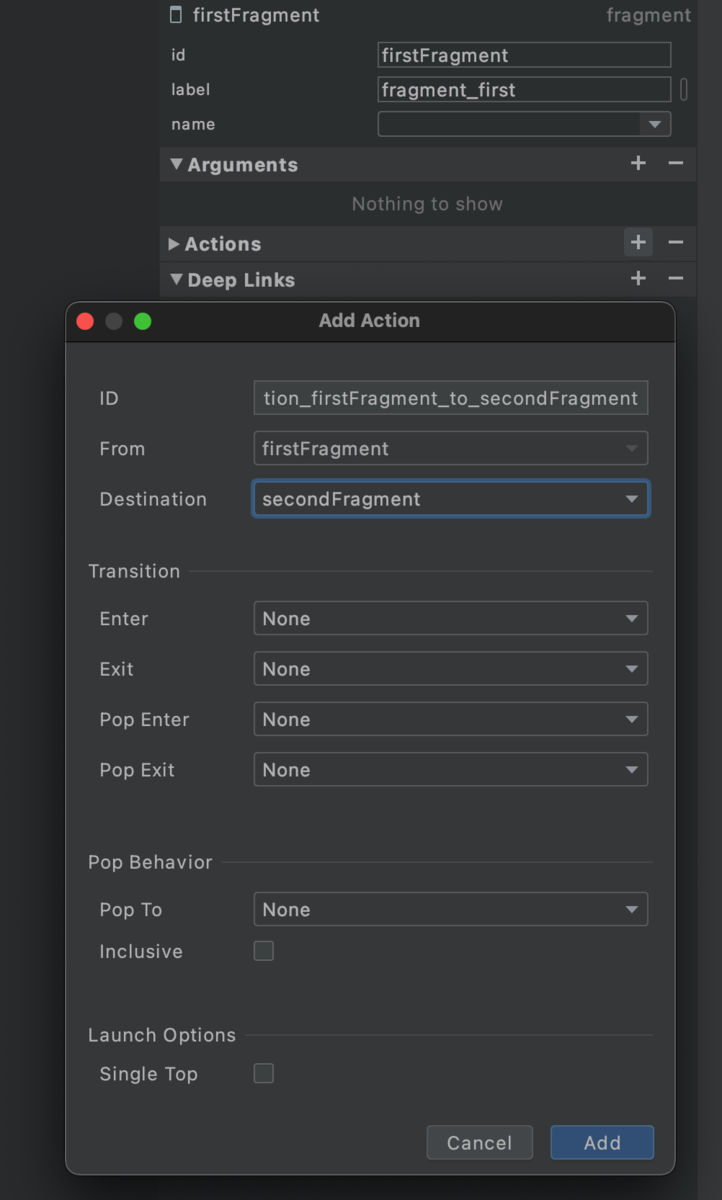
次はSecondFragmentへの遷移を実装します。
my_navigation.xmlの右側のActionsの+からActionを作成します。
次はFirstFragmentに画面遷移用のボタンを作成します。
fragment_first.xmlを下のように変更します。
<?xml version="1.0" encoding="utf-8"?>
<FrameLayout xmlns:android="http://schemas.android.com/apk/res/android"
    xmlns:tools="http://schemas.android.com/tools"
    android:layout_width="match_parent"
    android:layout_height="match_parent"
    tools:context=".FirstFragment">

    <com.google.android.material.floatingactionbutton.FloatingActionButton
        android:id="@+id/fragment_first_button"
        android:layout_width="wrap_content"
        android:layout_height="wrap_content"
        android:layout_gravity="center" />
</FrameLayout>
FirstFragment.ktのonViewCreatedにボタン押下時の画面遷移処理を追加します。
override fun onViewCreated(view: View, savedInstanceState: Bundle?) {
    super.onViewCreated(view, savedInstanceState)

    view.findViewById<FloatingActionButton>(R.id.fragment_first_button)?.setOnClickListener {
        findNavController().navigate(R.id.action_firstFragment_to_secondFragment)
    }
}
起動するとボタンだけの画面が表示されます。
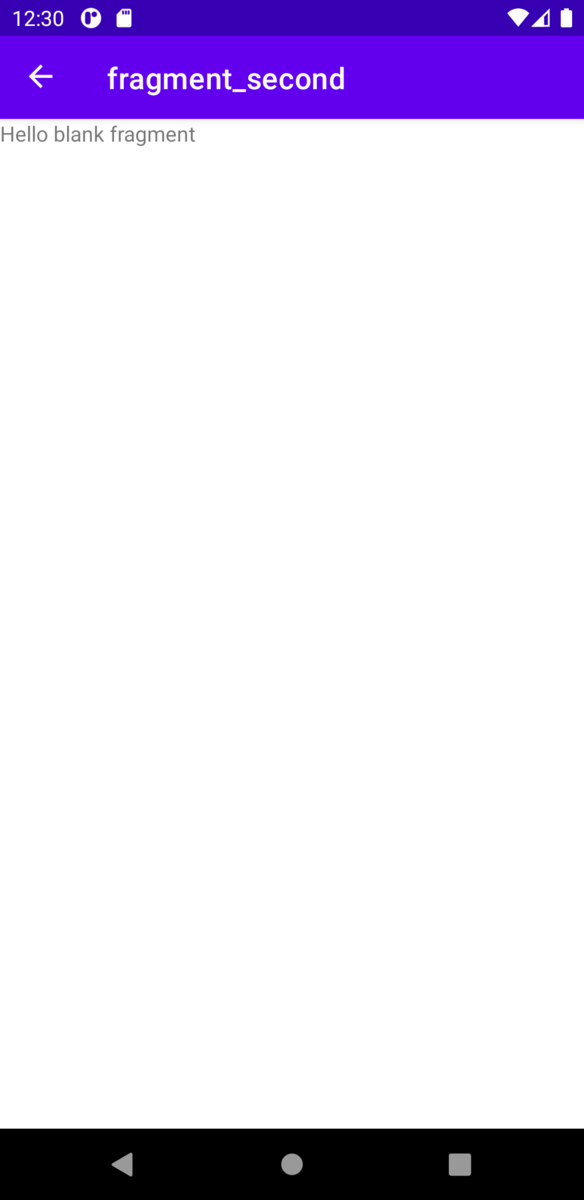
このボタンをタップすれば次の画面に移動します。
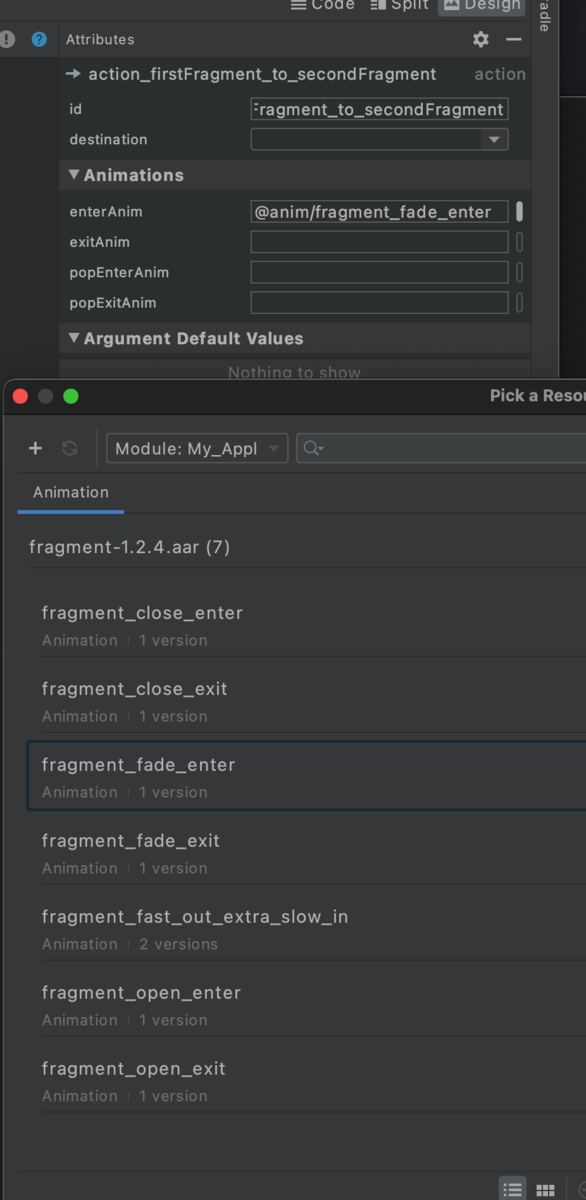
先程作ったActionを選択してAnimationsの所を編集すれば遷移時のアニメーションを指定できます。
ActionBarの戻るボタンですが、ActivityのsetupActionBarWithNavControllerを呼び出す事で表示できます。
押されたときの動作はonSupportNavigateUpで実装します。
class MainActivity : AppCompatActivity() {
    override fun onCreate(savedInstanceState: Bundle?) {
        super.onCreate(savedInstanceState)
        setContentView(R.layout.activity_main)

        setupActionBarWithNavController(findNavController(R.id.nav_host_fragment))
    }

    override fun onSupportNavigateUp(): Boolean {
        return findNavController(R.id.nav_host_fragment).navigateUp()
    }
}
次は遷移のときに変数を渡してみます。
まずはそれぞれのbuild.gradleで下のようにプラグインを設定します。
classpath "androidx.navigation:navigation-safe-args-gradle-plugin:2.3.4"
apply plugin: "androidx.navigation.safeargs.kotlin"
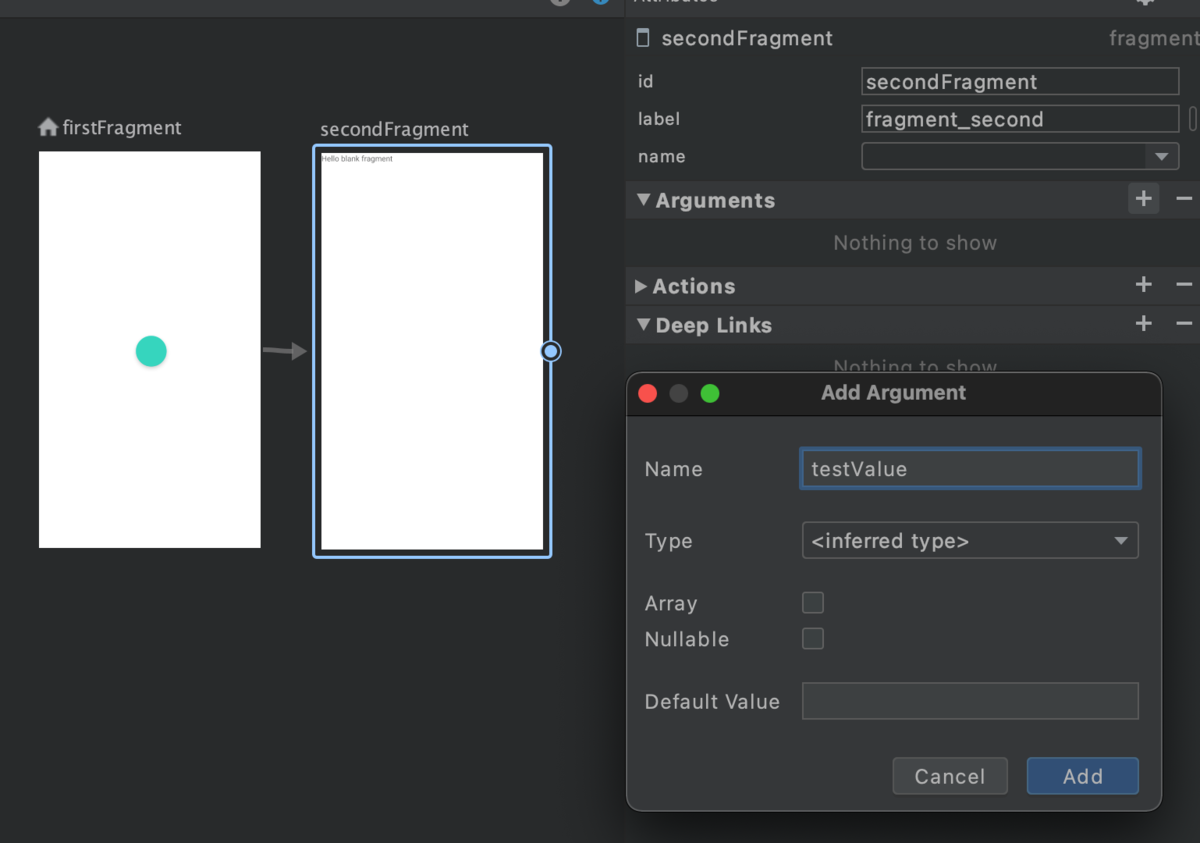
プラグインを入れたらmy_navigation.xmlを開いて遷移先を選択、画面右側Argumentsの+から変数を追加します。
この状態でビルドするとFirstFragmentDirectionsというクラスが生成されます。
画面遷移時のnavigateメソッドの引数にこのクラスを渡すようにします。
findNavController().navigate(FirstFragmentDirections.actionFirstFragmentToSecondFragment("testValue"))
遷移先では自動生成されたSecondFragmentArgsというクラスを使って変数を取り出します。
override fun onCreate(savedInstanceState: Bundle?) {
    super.onCreate(savedInstanceState)
    arguments?.let {
        val args = SecondFragmentArgs.fromBundle(it)
        Log.d("test", "${args.testValue}")
    }
}
ログを見ると無事に渡せていることが分かります。

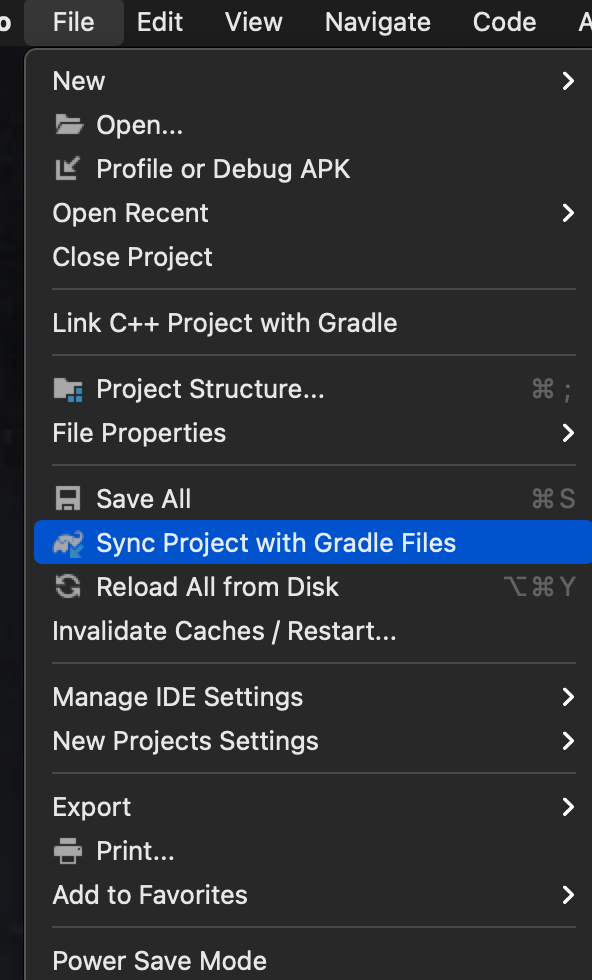
もし上記クラスが自動生成されない場合、Android studioの「Sync Project with Gradle Files」を選択すると良いかもしれません。